Video Credits: Ileane Smith via YouTube
Image Credits: Sharon Lopez via Bitlanders
We can do everything on our own especially if we are just starting our blogging activities. It is good if we know every detail of the blogging industry. This will give us more experience and to have more knowledge and skills could mean more opportunity for us. However, trying to do everything on our own could sometimes hinder rather than expedite our growth. This is because we lost focus on the more important things.
Having a group of people whom we could work with can certainly help us achieve our goal in less time. There are some good reasons why we may allow other individuals to work with us. First, we can delegate other tasks so that we can devote our time to more important matters. Secondly, we can allow others to do the tasks that we are not very knowledgeable of. Whatever our reasons may be, we need to set up our site for this purpose. You may refer to my previous post, How to Allow Other Individuals to Post on Your WordPress Blog for further details.

Image Credits: RawPixel via Pixabay
As mentioned in my previous post, we can let other individuals submit contents on our site through manual set up or using the built-in log in form to our site. Manual set up would be okay if we only want to allow some friends or few individuals to write for us. However, if we are aiming to open a bigger community, say opening our site for paid contribution, that is when we could allow registration and log in. Using the WordPress built-in log in form would be a good option, however, this process will allow users to have access to our admin area. In order to keep the privacy of our site, we can adopt another method, that is using the Custom login page to our WordPress blog.
For today's blog post, I will share with you a topic about How to Add a Custom Login Page to Your WordPress Blog. I will be sharing the process of setting up the custom login page using Theme My Login (TML). I also used the Access Press Anonymous Post for automatic redirection to the blog submission page. Both are free WordPress Plugins.
Setting Up the Site for Registration
Basically, we need to set up the registration process allowing other individuals to register with our site. After the user went through the process of email confirmation, they can now log in to the site and start writing their blog posts. In order to give the new user the authority to write blog posts, we will change their role to 'Contributor'. The blog posts that were written and submitted by the Contributor will remain in 'draft mode' until the Admin published such post. The Admin being the most powerful role and main decision maker can reject or approve blog submitted by the contributor.

Image Credits: Sharon Lopez via Bitlanders
Installing the Theme My Login (TML)

Image Credits: Sharon Lopez via Bitlanders
In order to install the Theme My Login (TML) plugin, go to Plugins >> Add New and enter the name on the search box located the upper right portion of the page. Once you found the desired plugin, click install. You may also download the plugin directly from WordPress.Org.
After the successful installation, you may now activate the plugin and start using it. Theme My Login will automatically set up the pages and by default, it will appear on your site's menu. You may now proceed to Appearance >> Menus to manage what specific pages you would like to show on your site's menu.
Showing below is an example of a registration and login button which I added to my site. You can apply the different options based on your preference.

Image Credits: Sharon Lopez via Bitlanders
Installing the Access Press Anonymous Post
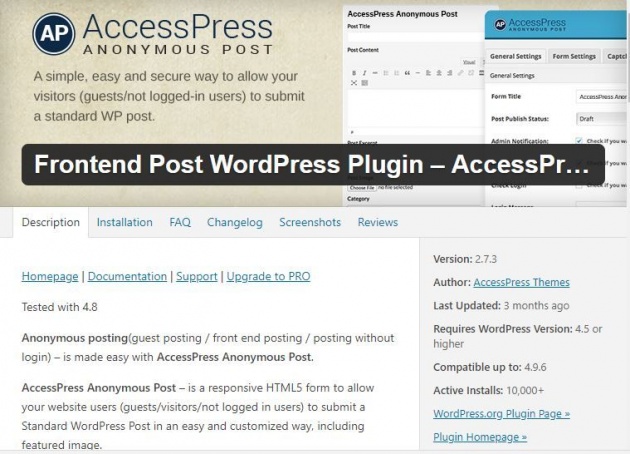
Image Credits: Sharon Lopez via Bitlanders
You may also install the Access Press Anonymous Post and use it as a redirection page after successful login using the TML. You can do this following the process you had when you installed TML. Installing Access Press Anonymous Post is optional as the user will be redirected to the main blog post area after successful login using the TML. However, I added this plugin so that the user will automatically open the blog submission page where they can automatically write a blog post.
This is where the new user/contributor will be redirected after successful registration and login. The contributor can save time because they can automatically write their post once they logged in.
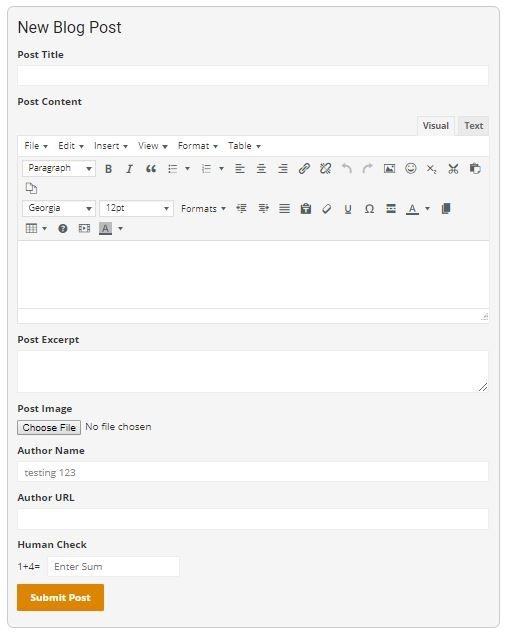
Image Credits: Sharon Lopez via Bitlanders
Once the Contributor is done submitting the blog post, he/she will be redirected to another page, I created a thank you page. You can edit the settings by clicking the 'Redirection' on TML plugin.
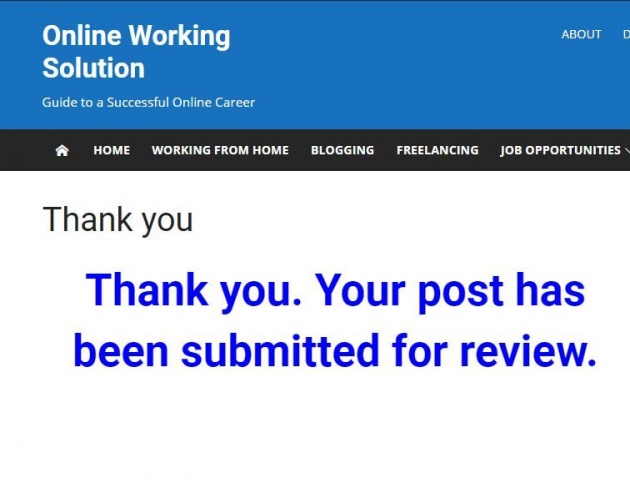
Image Credits: Sharon Lopez via Bitlanders
You may also use other options based on your preference. You can place a 'SUBMIT BLOG POST' button instead of 'REGISTRATION'. The user will be redirected to registration page before being able to submit a blog post.
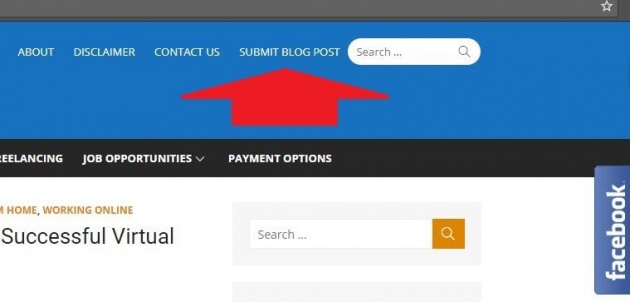
Image Credits: Sharon Lopez via Bitlanders

Image Credits: Sharon Lopez via Bitlanders
Here is another video that will teach us more about placing a registration, log in and log out on our WordPress site. Hope it helps!
Video Credits: Seth Riley via YouTube
Conclusion:
Inviting other people to join our group can help us focus on the more important aspects of the business. This can also spread out the work and at the same time, will certainly grow our community. I hope that with this blog post, I may have guided you in the right direction.
Don't hesitate to share your opinions and ideas in the comment section below. Likewise, sharing the post would be very appreciated.
More from this Author:
- How to Write Fast?
- 10 Blogging Lessons I Learned From Bitlanders
- Exploring the Different Blogging Platforms
- How to Add a PayPal Buy Now Button on Your WordPress Blog
- Are You Ready to Face the Blogging Challenges in 2018?
Thank you for dropping by.
Meanwhile, here is a Querlo Chat Survey created just for you...
DISCLAIMER: The views and opinions expressed in this blog post are that of the author and does not in any way represent the agency or department she currently belongs.
ADDITIONAL NOTE: The sites mentioned in this post are for information purposes only and links are provided for easy access. The author does not receive any remuneration from the said companies or sites.
______________________________________________________________________________
Written for Bitlanders
by Sharon Lopez
Date: May 20, 2018
Visit my blog profile for more BLOG POSTS
Let's connect on Facebook
The author is the owner of: