Image credits: Sharon Lopez via Bitlanders
Image credits: Sharon Lopez via Bitlanders
Canva is no doubt the best online graphic design tool. I am happy that even if I have no advance skill in designing, I can use the site to create awesome graphics for my blog posts. I know many of you are aware that I am using blog graphics for my blog posts. Yes, I am using Canva to design these graphics and today I will teach you how to use this great design tool.
I am using the free version and still contemplating if I need to upgrade to a paid version. But for now, I need to learn more about the site. Yes, Canva is free unless you decide to avail of a more advanced service then you can upgrade your account.
Being a blogger require us to be knowledgeable in different fields. Blogging does not start and end on writing alone. We need more than a writing skill in order to achieve success in the blogging field. We have to be creative when presenting our blog posts in public. Otherwise, we might not win viewers' attention.
Creating a timely, relevant and high-quality content is the most important thing that should be given a considerable time. But it doesn't end there. Another major challenge being faced by bloggers is the creation of blog graphics and other images for their blog posts.
Based on research conducted by BuzzSumo, attaching relevant images on blog posts can bring more traffic compared to a post with no image.
Having a little knowledge of design, one of the major obstacles that I am facing as a blogger is finding a good featured image for my blog posts. When I was starting to write, I was using those photos from Pixabay and other sites. But I wanted to have a more appealing featured image. Especially that I am sharing these posts on social media sites such as Facebook, Pinterest, and LinkedIn. As I made some research, Canva would always come on top. I already have an account on this site but not very familiar with how it works. Through consistent learning and reading tutorials, I was able to learn the basic features of Canva and started to love it.
You may visit first blog post about Canva, Why I Love Canva? And Why You Should Too?
What I am going to share with you today are the basic features of Canva. This way we could be able to familiarize ourselves with the steps on how to make the most from the site.
Let's get started...
First and foremost, we need to know the different terms used in Canva. I have placed a screenshot of the site for easy understanding.
Figure 1.
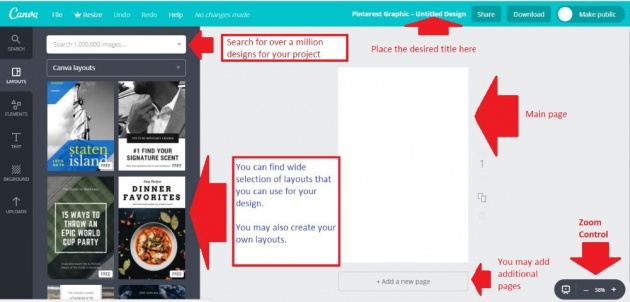
Image credits: Sharon Lopez via Bitlanders
Search Tab
You may use the search tab to find the most suitable images for your project. There are over a million images and illustration to choose from.
Layout Tabs
Canva offers different layout designs for different needs. You may add different pages and use a different design for every page depending on the project. For example, you are creating a presentation wherein you want to have different designs on every page.

Image Credits: Canva.com
Text Tab
The text tab can be found on the left side of the page. Just click the tab to open the different Text designs. Just click the desired text design or drag it to the page. You can edit the text by choosing from the different font size and designs available.
Background

Image Credits: Canva.com
Try different backgrounds for your projects. Choose from the wide selection available. Click the Background tab on the left side of the panel.
Uploads
Click Uploads if you want to use your own photos on your project.
Zoom Control
Adjust the size of your page by clicking the zoom control button.
Canvas
This is also known as the page where you will make a design.
Add New Page
You can add a new page by clicking the Add page button.
Page Control

Image Credits: Canva. com
You can add pages to your design and set a different background on each page.
Design Name
Assign a name for the project by clicking the Title on top of the page. Please refer to Figure 1.
Share Button
Share button allows us to share our work on different social media and with other individuals.
Download
After we finish the design, we can download it in JPEG, PNG or PDF file.
Make Public
This is an option that would allow a member to share their design through a public profile. Turn your profile into public by sliding the button on the upper right corner of the page.
Help Tab
Find additional help on your concerns by pressing the Help Tab.
Creating a Design With Canva
Step 1. Log in to your Canva account and click CREATE DESIGN. I made a sample using Pinterest Graphic. You can also customize the size of your design.
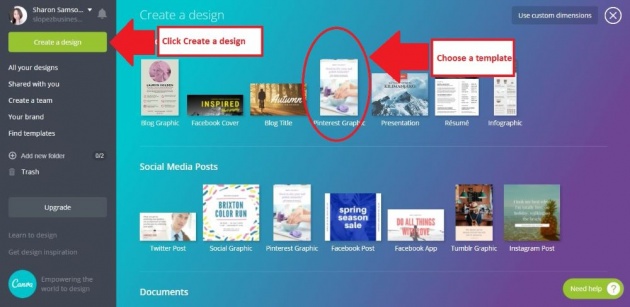
Image Credits: Sharon Lopez via Bitlanders
The template will open in a new tab. From there you can now start designing your project.
Step 2. You can either use ready made layouts for your project or you can place a new background.
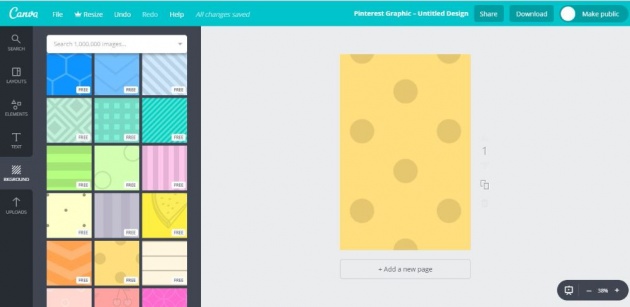
Image credits: Sharon Lopez via Bitlanders
Step 3. Place a blog title. click the Text tab on the left panel and choose from the given selection. I would usually use Heading for Blog Titles.
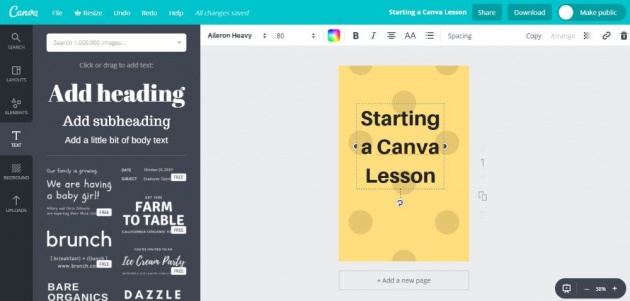
Image Credits: Sharon Lopez via Bitlanders
You can change the font color, sizes and add a frame to your page.
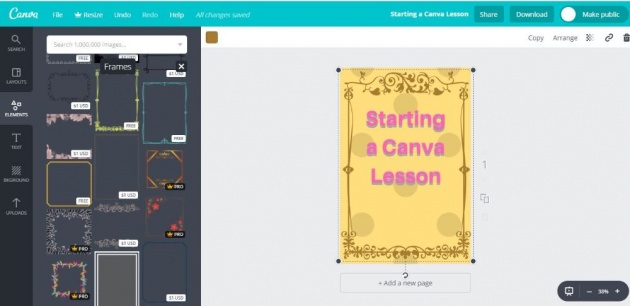
Image Credits: Sharon Lopez via Bitlanders
You can also add some elements to your design.
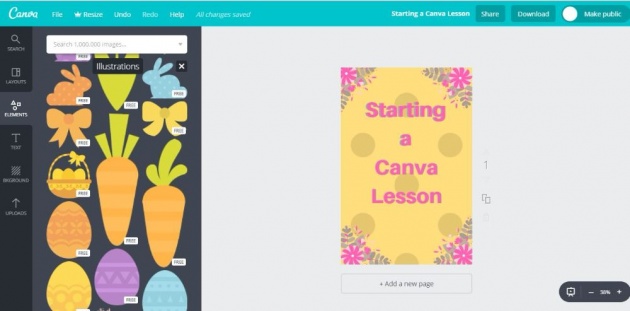
Image Credits: Sharon Lopez via Bitlanders
Step 4. Once done with your design, you can now download it.
On the final thought...
Creating awesome and brilliant designs is easy. You don't need to be a graphic artist in order to create one. Just a little practice and a lot of patience will do.
Here is another video showing the simple steps in creating a design.
Video Credits: Sarah Nguyen via YouTube
Thank you for dropping by. Hope you enjoy today's blog post. Watch for more design tips.
Meanwhile, here is a Querlo Chat for you:
NOTE: IMAGES USED IN THIS POST WERE TAKEN AS A SCREENSHOT FROM CANVA AND EDITED THRU THE SITE. IMAGES AND VIDEOS WERE USED FOR PRESENTATION PURPOSES ONLY.
=============================================================================
___oOo___oOo___oOo___
Written for Bitlanders
by: Sharon Lopez
Thank you for reading.
Please visit my BLOGS more quality blog posts.
Sharon Lopez is the owner of Online Working Solution.
You may visit me on
Facebook, Twitter, Pinterest and LinkedIn
///////////////////////////////////////////////////////////////////////////////////////////////////////////////////////////
Would you like to earn from sharing your ideas, videos, and photos? Join us in Bitlanders!
///////////////////////////////////////////////////////////////////////////////////////////////////////////////////////////
DISCLAIMER: The views and opinions expressed in this blog post are that of the author and does not in any way represent the agency or department she currently belongs.
ADDITIONAL NOTE: The sites mentioned in this post are for information purposes only and links are provided for easy access. The author does not receive any remuneration from the said companies or sites.