Image edited in Canva credits: Jean Beltran via bitLanders
We all must admit it, to create stunning, interesting, eye-catching blog contents, media files are one of the crucial items that have to be added to our blog posts. It is an essential part and can also make or break it the content.
So, it is just timely that I would speak about this online tool which I had been using for the past months of blogging here in bitLanders. Whilst I am using my own images with most of my blogs, I am also taking advantage of free online resources to add to my blogs and I am referring to Canva.com.

Image credits: Canva.com
I learned about it through my fellow bitLanders user @sharon-lopez and from the time I started using it, I had never looked back. Why is that so? I have here some of the reasons why I love Canva:
1. Layout templates are all free to use.
2. There are free images and elements which can be used in just a single click.
3. It provides me ideas on design and layouts.
4. It can easily be learned.
5. Free download my projects in high-resolution images without any watermarks.
I know the site has a lot of potentials I have yet to explore because I am only using the free edition. I have been exploring the options for a paid premium account and I am pretty sure the options are endless. But since it is quite expensive for me to shell out extra cash for this tool while I can still create effective pieces with a free account, I would rather stay with the standard edition instead as long as I am allowed to do so.
Video credits: Canva via YouTube
For this blog, let's deal with how to create effective visuals for our bitLanders blog. Ever noticed how I am able to add images which are visually appealing to my blogs? Don't be surprised, I am using Canva for all of them and I am loving it! I love the easy and fast way of illustrating and graphic designing through Canva. I can create visuals faster with Canva than Adobe Photoshop in fact!
So, this blog is intended that I can share with you the easy ways on how I create them that you may also apply them on your future blogs. Don't worry, Canva is super easy and user-friendly, you'll get used to using it in just minutes just like how I get used to it when I first started making my own.
1. Choose a Design.
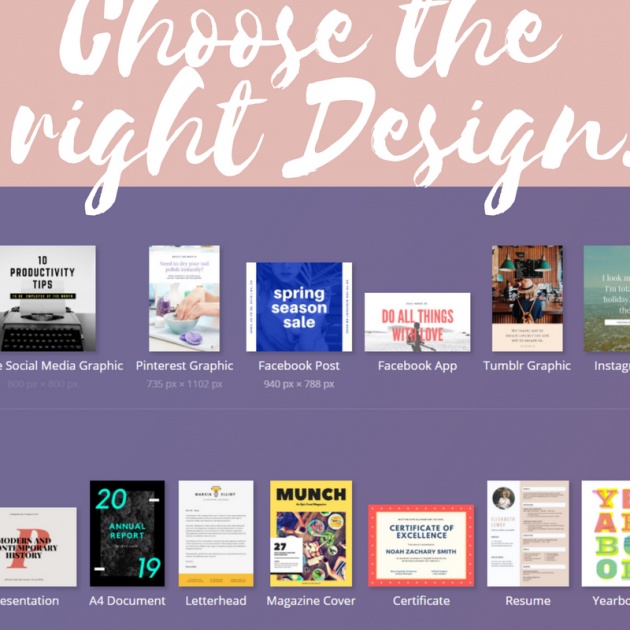
Image edited in Canva credits: Jean Beltran via bitLanders
First thing's first, I'd like to establish that we are dealing with images which are on our bitLanders blog. This site is a social media site thus, the design that fits it well are those which are for social media posts.
Don't worry, in Canva, the designs are categorized so it is very easy to select which and which should fit nicely with the content that you and I are going to create.
Under Social Media Posts, we have all the top social media sites such as Twitter, Pinterest, Facebook, Tumblr, Instagram, there's even a generic square social media graphic. Any of these can be used for bitLanders too! Most of the time, I use Facebook Post if I want a wider photo which will allow me to add texts in it plus this will ensure that my images are being emphasized.
2. Select Your Preferred Layout.
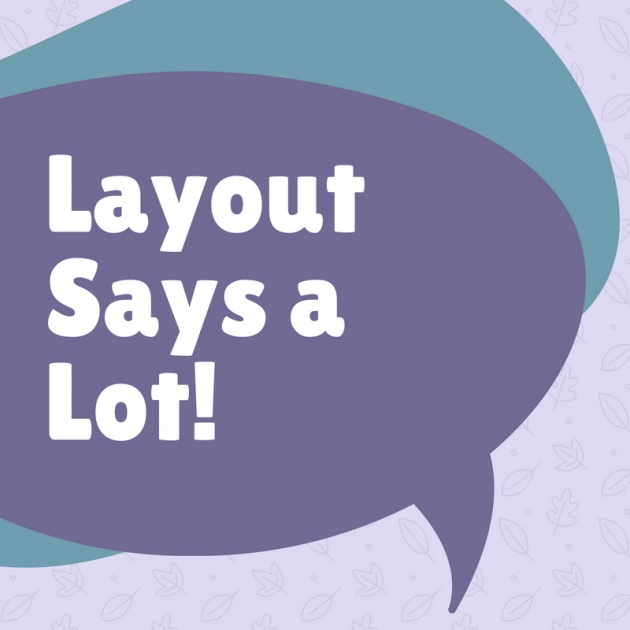
Image edited in Canva credits: Jean Beltran via bitLanders
As soon as you select a social media design, Canva will automatically guide you through the list of layouts available for you to use. This is where the fun starts and I love scanning through all the free and even paid layouts!
You'll easily know that you can use that layout because they'll be marked as free and if paid, there's a dollar sign next to it. But even so it states its not for free, you can still make use of that layout, you'll just have to change the elements that are premium in that specific layout such as images, fonts or other items. Most of the time, it is the photos, I would always use my own images.
Layouts, by the way, are the soul of your visuals. With proper layout, you'll end up with a very nice image so this is a fun but crucial part too of your image. But as long as you select one which suits well with your topic, you'll be good to go!
3. Add Images!
Image edited in Canva credits: Jean Beltran via bitLanders
It is not necessary that you upload your own images, in fact, Canva has a wide range of free stock photos available in the platform itself. All you have to do is to search for it!
I personally would prefer my own images though but there are still times when I don't have the images needed for such layout so I need to make use of the free ones if there are available one in the library.
Searching the images takes patience and it requires the right keyword! Based on my own experience, I usually use Canva free photos when I need a computer or laptop picture. So I do use the keyword computer, PC, laptop, desktop or Mac. While there are times when the same items show up in the search results portion, there are times when I get to find a good free image. It takes the patience, of course, to scroll through and really locate a finder's keeper. So be patient!
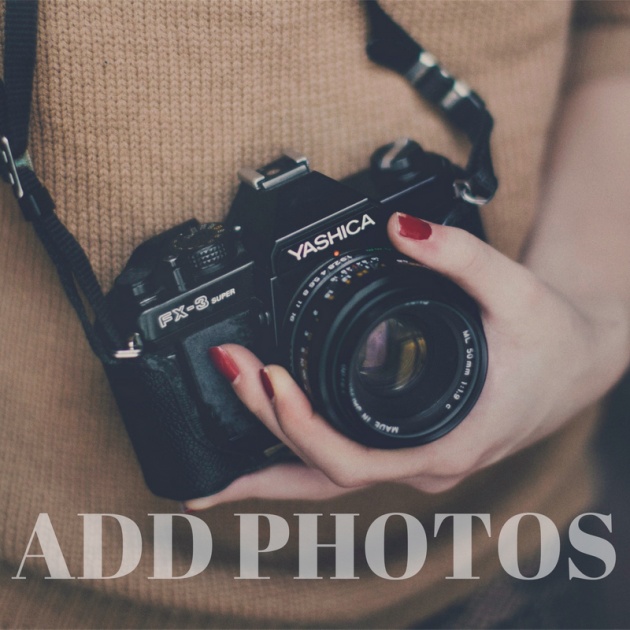
Image edited in Canva credits: Jean Beltran via bitLanders
But again, the easiest way to really beautify it is to use our own photos, upload them into your account because, in that way, you can customize it according to how you want the design to happen. Of course, you'd like to use good quality images as well. If you don't have those, then stick with the free ones from Canva's wide directories.
4. Images for Background or Elements.
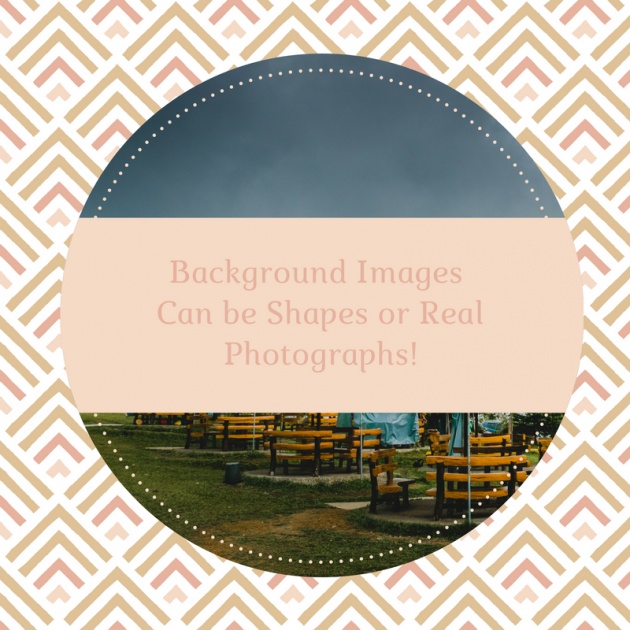
Image edited in Canva credits: Jean Beltran via bitLanders
Note, that with images, you can use them as backgrounds or your visual element. Some visuals work immediately with just a background, sometimes you'd need more items inside to make it stand out even more.
So, don't be afraid or be shy to play around, move images around, use them as a backdrop, or use it inside a specific element like inside a frame, a grid or a certain shape.
5. Make Use of Shapes, Grids, Frames, Illustrations, and Icons.
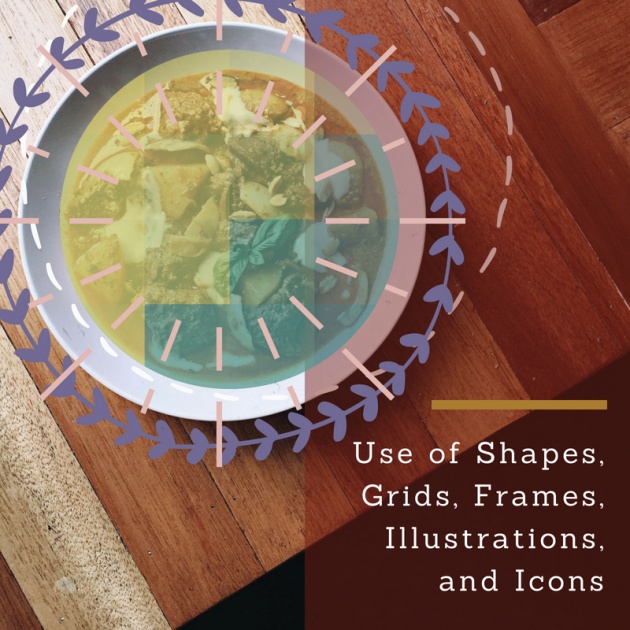
Image edited in Canva credits: Jean Beltran via bitLanders
What I love about Canva is the option of adding shapes and icons where most of them are free! I am for sure a sucker for free items and I will make use any of those free ones as much as I can.
Most of the shapes that I use are square, circle, arrows, dots, lines and etc. There are lots of them in the library! You can even find some really cool ones like those with pre-colored ones or filled with designs, some are very hi-tech and are in modern designs and look like curvy arrows and such.
With a single click on each element category, you can already see the list of available options. Illustrations are one of the things that you can make use of especially with creating cartoon visuals.
6. Play with Fonts.
Image edited in Canva credits: Jean Beltran via bitLanders
I love playing with letters and fonts in my design. In my computer system, I have downloaded hundreds of free Fonts from the internet because I love them and I want that in every design I create, I use different typefaces.
Well, with Canva I can't install a new Font but they have a wide range of nice styles and faces that I love so there's really no use of installing any of my computer fonts into Canva.
Aside from that, you can adjust the sizes of these fonts to emphasize them in the layout. Fonts speak a lot just like how images are conveying message already by just simply reading them. So choosing the right Font will help a lot in the effectivity of your visual.
Remember, the most important word or phrase should be the biggest and boldest. It should draw the attention of the reader into that word or phrase!
Other options are changing the spacing of the phrases, space between letters and space between the line height. Plus it can allow you to either set the paragraph to align to the left, right or center. Italic and Bold options are also there!
7. Colors and Transparency.
Image edited in Canva credits: Jean Beltran via bitLanders
My favorite part again with designing in Canva is the limitless possibilities of colors and shades!
With Canva, you can use any color shade just as long as you know the hexadecimal HTML color codes. And you might be telling me how to go find that? Well, there are a lot of options but for me, I am able to capture that with Adobe Photoshop or any similar to that, there's color picker inside the software and I can pick an image, select the specific side or angle of the picture and the picker will get the code of that color and I can use the code with Canva!
Color Palette is another thing, with choosing four colors or less inside the design, the visual becomes relaxing and very peaceful. I mean, less is more when we talk about colors so you must start with two or three colors and you'll be surprised with how your design becomes very professional!
Video credits: David A. Cox via YouTube
Don't also forget to use vibrant colors which will create contrast against the background and the elements of the page. But still, consider that the color is harmonious to the image in the visual.
Transparency is included within the Canva design page. You can select any element, a photo, an icon, a shape and set the transparency to low or high using the slider. This is a small portion of the platform but this is very powerful. It allows a specific item to be visible or not.
I got to end this blog not because I had been typing without really looking into the number of words so this is almost close to 2k words and I guess I will have to end this. Just note that with the proper use of these options, you'll be able to create a very effective image visual for your bitLanders blog.
This blog entry was written and published by Jean Beltran-Figues for bitlanders.com.
Join me, click here to sign up.