
Image edited in Canva credits: Jean Beltran via bitLanders
Hello, bitLanders community! It is no secret that the best way to earn here in bitLanders is through blogging but this doesn't only mean just blog but be consistent enough with posting and submitting those for review.
For the past few weeks, I had been constantly writing and sending my blogs for review. I kept on challenging myself to push and find ideas, topics and anything that I can blog about. It is a hard challenge but I guess I am doing well with that matter.
Some may often ask how am I doing it? What are my tips for earning here and how much I am earning? Well, I would say don't go after the number of dollars but go after the quality of your blogs and the earning will come along.
But when I say quality blog, there's a workflow that I follow so that I won't be missing anything on my blog. And today, I am revealing that to you so that you'll have a glimpse, a little preview of how I am doing it and perhaps you may also be able to apply it on your blogging workflow. While it is evident that I also blog on other different platforms so this workflow is definitely different to that of other blogging sites.
But first, let's tackle blogging first.
WHAT IS BLOGGING?
Image edited in Canva credits: Jean Beltran via bitLanders
As for how blogging.com had defined it:
Blogging is a hobby that started out as a way to post online diaries in the 90s, blogging has grown into a massive, endlessly varied form of communication unprecedented in human history.
In my personal opinion, blogging is a way of expressing your thoughts like how you input a log on your manual diary, except that it doesn't require a pen and paper to log them. With the use of the digital medium, one can add information may it be regarding with the person writing it like daily experiences, travel stories and such or it can also be anything that deals with subjects like politics, religion, home, family and etcetera, the list goes on.
Note that blogs, although can be on a website is still different to the latter. I hope we all know that a blog is something that is being updated constantly while a website is something which can be available for checking only but not necessarily read for certain discussion.
Now let me share with you how I blog and the workflow I follow to make sure I won't be missing anything.
1. Write and Create Title or Vice Versa
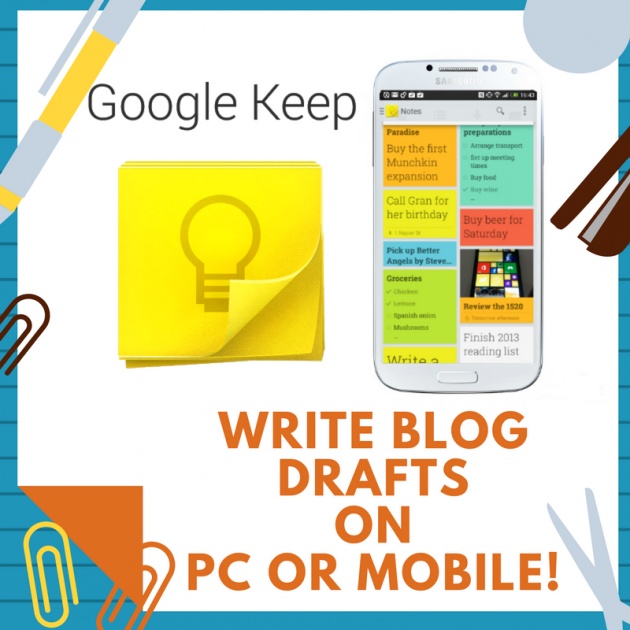
Image edited in Canva credits: Jean Beltran via bitLanders
There are instances when I get a title first but most of the time, I only have an idea, I write and finish the blog before I could formulate a title.
I normally use my Google Keep to write my blogs, why? Because I can write on the computer and it auto syncs with my mobile app which means, I can continue writing on mobile if I am out of my PC. With this, I am able to jot down whatever comes to mind.
One thing also to note is that I am adding blog ideas in my Google Keep account. They are just sitting there then if I feel like I am already ready to write about that topic, I would continue writing on that once the opportunity comes.
2. Proofread with Online Resources
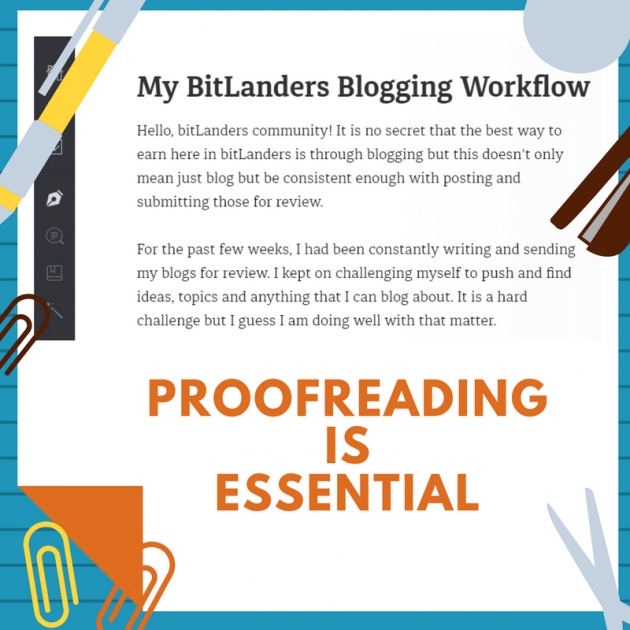
Image edited in Canva credits: Jean Beltran via bitLanders
After feeling that my blog is long enough and it has an ending part, I would then go to Grammarly.com for proofreading. I know this resource is not perfect but it is good enough especially that it is just a free service.
With Grammarly, it counts the words I have written down, it will also check for any misspelled words, anything which has some errors in terms of the verb-subject agreement or any other grammar, punctuations, word choices and sentence structure.
I write just simple English sentence structures, I am still also a work in progress in terms of my writing so I need help in terms of enhancing my word choices and more.
There are different other proofreading sources but for me, I feel like Grammarly is a perfect fit for me. Although I don't know how many documents can be created for a free user, currently I have more than a hundred articles written there which are both for bitLanders and for other blogging platforms.
Special thanks to @sharon-lopez for introducing this too! Before, I used to only proofread through my Microsoft Word software.
3. Attach Images, Cite Properly
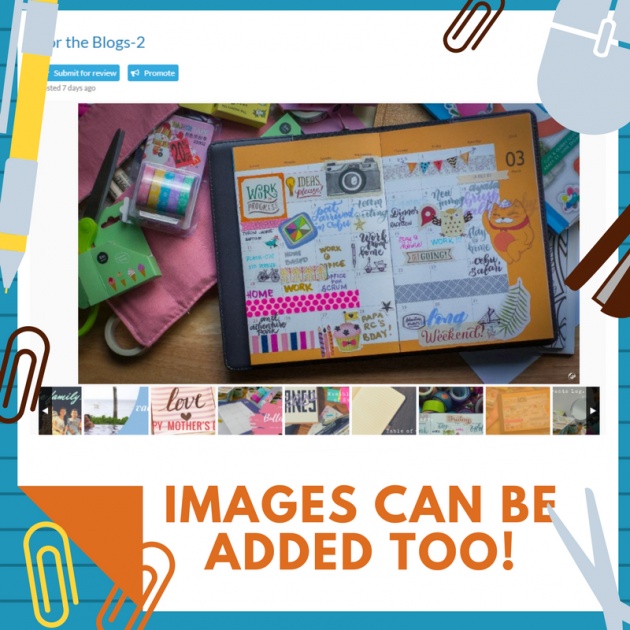
Image edited in Canva credits: Jean Beltran via bitLanders
With bitLanders, ten photographs can be attached to a blog. It is okay to add less but the maximum numbers are only ten.
Most of my photos are my own, I have taken using my own camera gears and edit personally through a photo editing software on my computer and then upload it to my bitLanders gallery.
However, it is also possible to use images from the web but I would ensure that I add the right link referring to the owner of the image. One more option is to use Canva.com for free media, they have free layouts and photos which can be altered to my own preferences, I can also upload my own photo to be used in their layouts. So far I am loving Canva.com as it produces good quality results.
4. Create Videos or Search For One
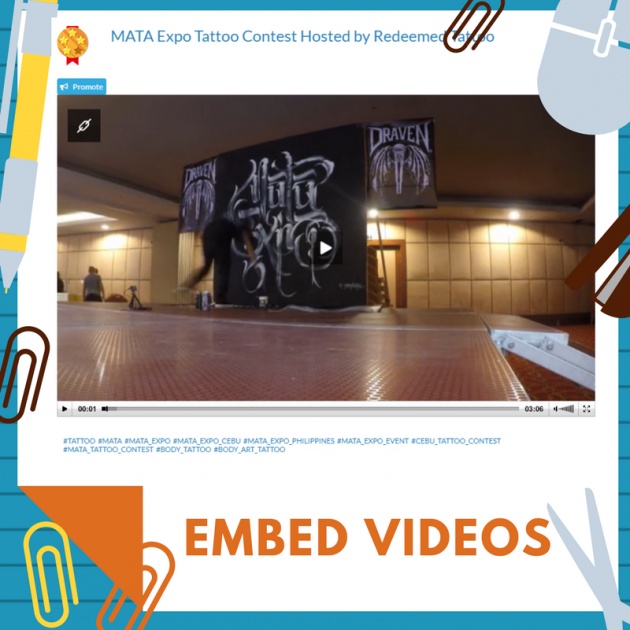
Image edited in Canva credits: Jean Beltran via bitLanders
Another media that can be attached to a blog is a video. I make sure that I add videos on each of my blogs because if not, Miss Hillary will mark that the blog's presentation was poorly done. What we aim for is her comment such as "the presentation of your post was magnificent, I really liked it and I wish to see more in the future!"
As much as I would like to add my own videos, there are times when the moment would not allow me to. Certain cases like the videos uploaded within bitLanders are still in the encoding mode and I have to already submit my blog, I ended up using external videos or uploading my video to YouTube.
Of course, the use of YouTube or Vimeo videos is still okay just ensure that credits are given.
5. Add Querlo

Image edited in Canva credits: Jean Beltran via bitLanders
Not everyone may have known about Querlo. To some old users and I don't mean to disrespect the age of these users, what I mean is those who are seasoned users here, we always add Querlo chat on every blog why? Because there are additional buzz points! Buzz points are just hard to earn so free ones should be taken advantage of.
Querlo is the artificial intelligence with a heart! A chat with a human touch!
Don't you know?
Personalities like @Micky-the-Slanted-Salerno and @bitLanders had been infusing the site with different chatbots which deal with a variety of subjects. There are chatbots regarding airlines, food, sports, restaurants and a lot more.
If I blog about a certain subject which I couldn't figure out what Querlo to add on, I simply go over to Querlo.com and create my own. Then use it on my blog because it publishes the chat right away! So far I have around 12 personal Querlo. Learn more about how to create your own from this blog:
Still quite confused? Try the Querlo chat bot below regarding Querlo itself to learn more about it:
6. Tags, Keywords, Format, and Backlinks
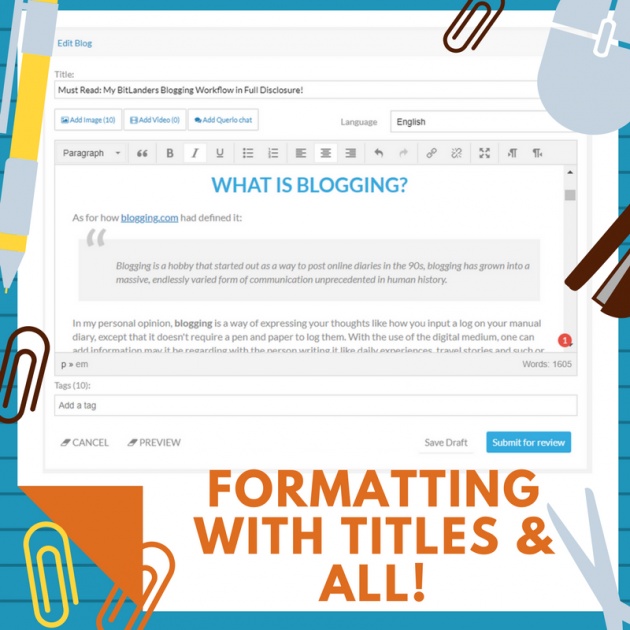
Image edited in Canva credits: Jean Beltran via bitLanders
You can't submit a blog without the tags. In bitLanders, you can add a max of ten tags. I have a love-hate relationship with tags. There are times when I can easily formulate them but there are more times when I couldn't think of one.
Video credits: Rave Review via YouTube
So to help me, I usually go over to Google, use any tag generator website which can allow me to add some words and then it will give me available tags which I can then use for my blog. There are different sites which can help us with tags, again, it is not an assurance but it helps me with formulating one.
Keywords and backlinks are also a must! I highlight keywords by bolding them, I add links to that information on the blog which I think requires more information, the backlinks will be useful in case the reader needs more data about that word, underline all of them too, italicize those which are not links but are important information in the blog and finally, I bolden the keywords. Of course., the format of the blog too, like the titles should be set to Header 1 and so on.
Video credits: Neil Patel via YouTube
Always, always click the save draft whenever I add new data to the blog. There were cases like browser crashing and internet connection issues which interrupts my workflow and I don't want to end up redoing all the bolding of keywords and adding links.
7. Review, Finalize and Submit!
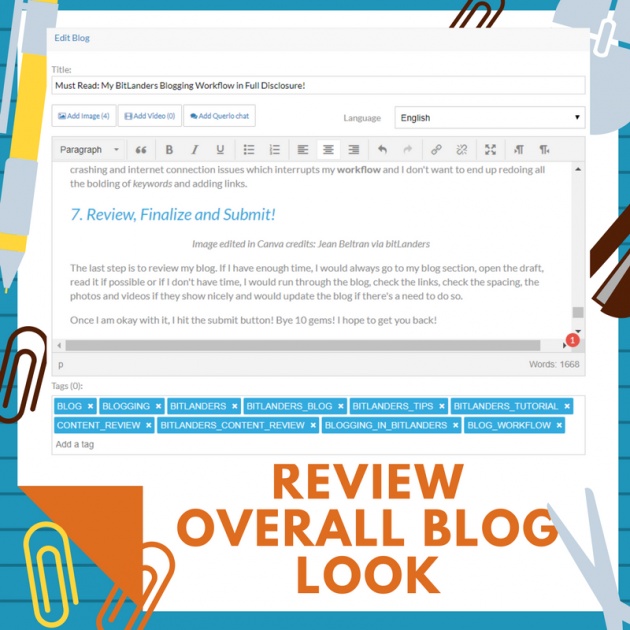
Image edited in Canva credits: Jean Beltran via bitLanders
The last step is to review my blog. If I have enough time, I would always go to my blog section, open the draft, read it if possible or if I don't have time, I would run through the blog, check the links, check the spacing, the photos and videos if they show nicely and would update the blog if there's a need to do so.
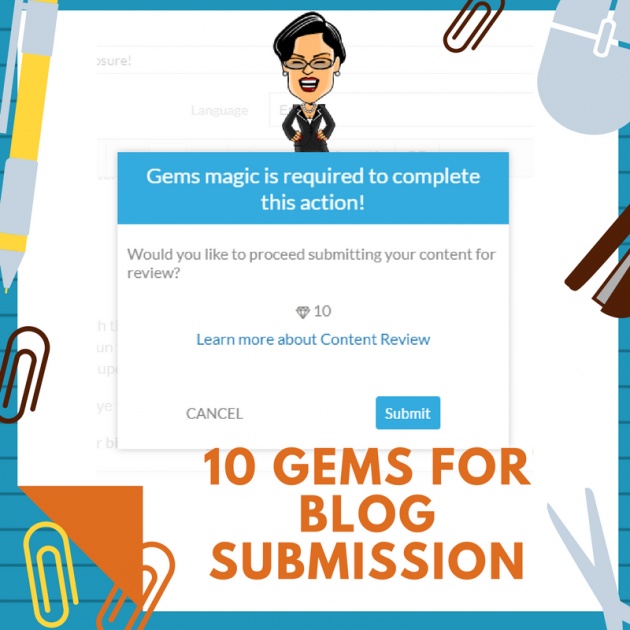
Image edited in Canva credits: Jean Beltran via bitLanders
Once I am okay with it, I hit the submit button! Bye 10 gems! I hope to get you back!
That's it, guys! I hope this helps you improve your bitLanders blogging technique through my own workflow. Keep creating!
This blog entry was written and published by Jean Beltran-Figues for bitlanders.com.