There is a view point in Hathersage in the Peak District, UK that I first discovered while working as a runner on a short film about 3 years ago.
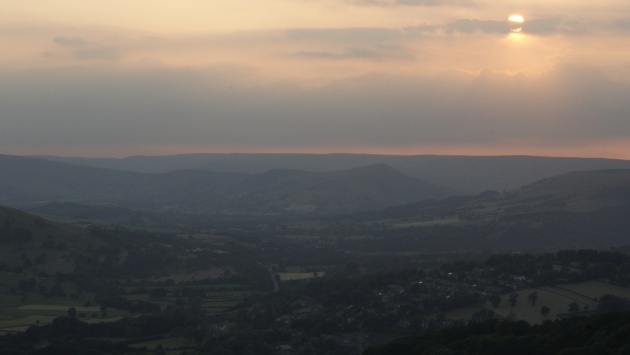
From the moment I was there I knew I wanted to go back and try some of my own photography, and especially try a timelapse given the almost perfect view of the sun setting over the hills across the valley.
Given the warm weather and clear skies I figured last night would be the best opportunity to go on an adventure and find the place again. I packed my Go-Pro Hero 1 and my Sony Alpha 500 DSLR and set out.
After scouting out a few of the places at the top of the hill I found what looked like the perfect spot on the edge of the cliff.

My next debate was wether to do a continuous video or time-lapse of images with the camera taking a photo at intervals. Before setting off I had read an interesting article on a website called fstop that offered this rule
Stationary Camera / Moving Subject = Time Lapse
Stationary Subject / Moving Camera = Sped up video
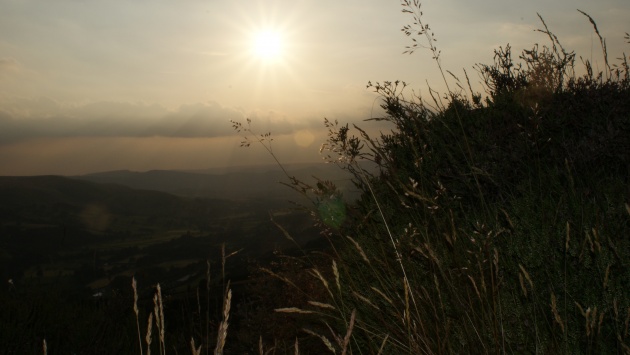
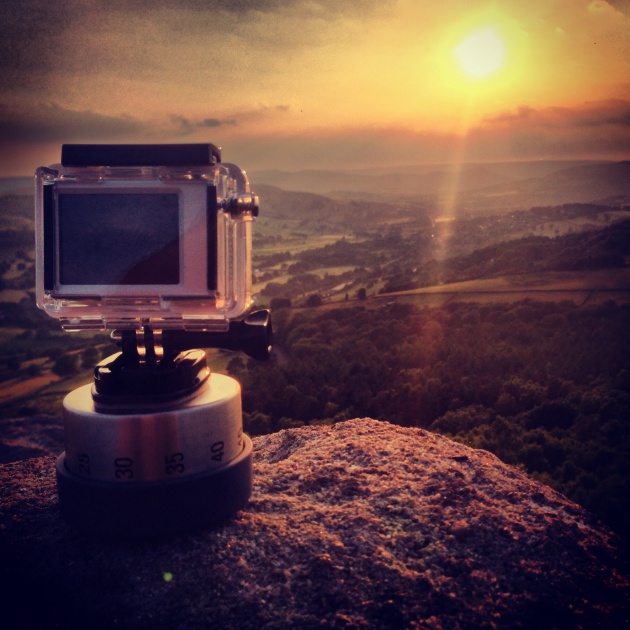
I had originally planned to make it a panning time lapse, you may notice the egg-timer attached to my go-pro in the picture above, this allows me to make time lapses up to 360degrees (see van lapse) so I kinda liked the idea of making it pan. However the current rig can only pan from right to left and unfortunately in the UK a sunset goes from left to right, so I realised that this would have to be a stationary one until I can come up with an idea to make it pan the other way. To me, using the above rule, this ruled out the idea of shooting in video form.
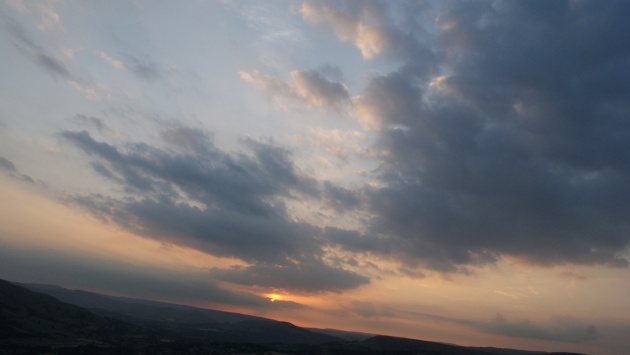
I set the camera to take an image every 30 seconds, made sure I was happy with the framing and set it going. Sunset was due at around 9.30PM and I started at about 8PM, meaning I had at least an hour and a half to kill. This allowed me to have a little bit of a wander and take some photos on my DSLR
The battery on the go-pro ran out soon after 9.30, I have recently bought a LCP Bac-Pac for it and forgot to factor in that leaving it on would use more of the battery, else i'd have got at least another hour our of the battery.
I got home and imported the pictures into FCP and put them together...unfortunately the results were not what I had hoped for - http://www.filmannex.com/movie/disaster-lapse/37040
It would appear that the clear sky and bright sun had resulted in every image being over exposed. The Go-Pro exposure setting was set to 'Cnt' which according to the manual reads 'Centre weighted average meter is better for normal outdoor and indoor lighting conditions'. The only other setting on a go-pro is known as the spot metre which, again according to the manual, is best used for when you are indoors and are shooting outdoors, e.g. inside a car, shooting out to the road.
Given that I was outdoor I think I had the settings right, whats more frustrating is that the image in the LCD doesnt match the image taken, if you look at the image above where you can see the screen, you can see that it is not over exposed. So i'm at a bit of a loss as to what went wrong.
I have decided I am going to go back and try it again. This time I will do it as a continous video and see if the exposure is any better. I may also take an SLR and remote shutter and see what output I get from that just to compare.
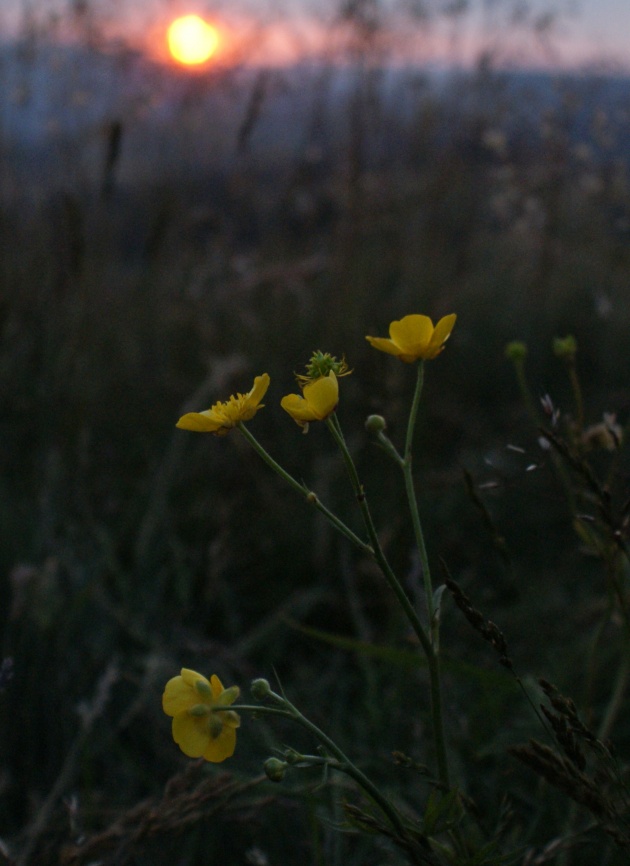
I'll leave you with the best photo I took, ironically taken on my iPhone 5 and edited with Instagram
Expect an update from my next update soon!


