Over the weekend I got a chance to DP a short film. Director Mark Kuczewski’a latest film Falling.
It was the first short film I have been director of photography on this year. So it was great to get back to filming a drama after a long,cold, dark film-less winter.

And what a better way to start filming again than on a gorgeous sunny, spring day.
However filming in sunlight isn’t anywhere near as simple as it sounds.
You should always have control of your lighting, and as we all know, the sun isn’t controllable. So there is a constant battle of where is the sun, what are we direction filming in, and time of day is the film meant to be set in, and keeping it consistent. Phew, a million and one things to be thinking about, all whilst still actually making it look decent.
So to make film consistent, I had to decide where the sun was. And to do that, I needed to actually block out the real sun, as that could have been shinning in any direction, and we only had a limited space to film. I then needed to put the sun where I wanted be.
So how could I control the uncontrollable?
Here is where the lights came in.
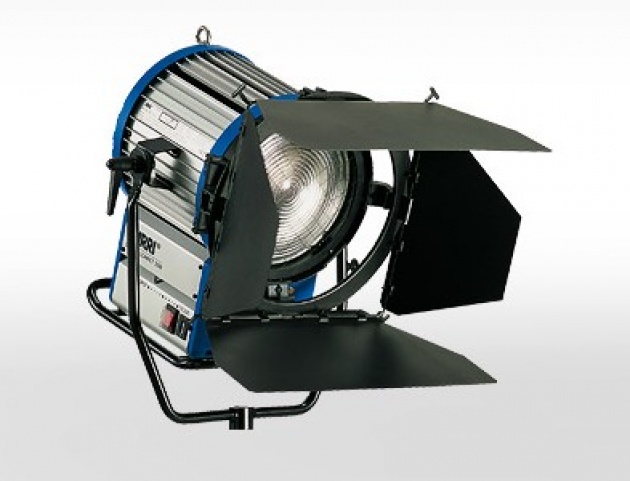
For the shoot we hired in two 2.5k HMI lights. We chose these lights not only because they are fairly powerful, 2500 watts give off a lot of light, but also because they are the same colour temperature as sunlight. So we didn’t have to get a blue (daylight) filter and in the process losing one stop of light.
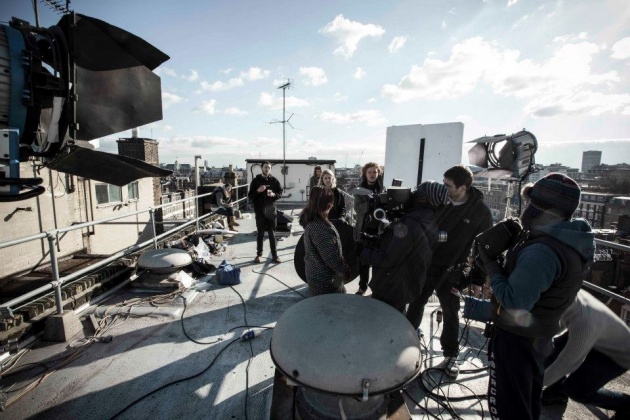
The next challenge was actually blocking out the sun. We could only realistically do this on the close ups and mid shots. We had 4x6 foot bead board blocking out the light. On big hollywood films, they probably have something 3 or 4 times this big, but we had to make due with what we had. The other benefit to using a bead board, was that not only was it blocking out the light, but due to it’s pure white surface, we could bounce our lights onto it.
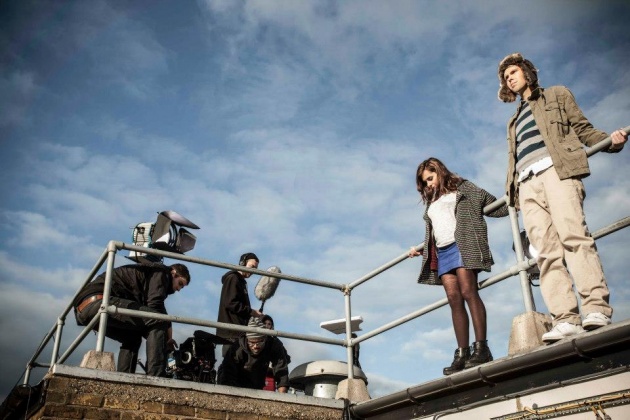
(Yikes they better not look down)
With space as well as a 90 foot drop as the limitation, we had to be careful with where would put the lights. And the bead boards allowed me to reflect the lights from pretty much anywhere, wth the help of my lighting assistants Yann (who has the world’s strongest shoulders) and Eira (who also has the world’s second strongest shoulders),we able to put bead boards over the edge of the ledge. Allow me to create the largest shadow I could Whilst still bouncing light from the HMI at full blast. And in this case over the actress and actor in the mid shot.
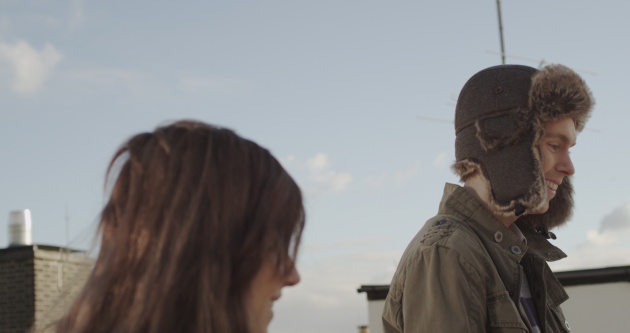
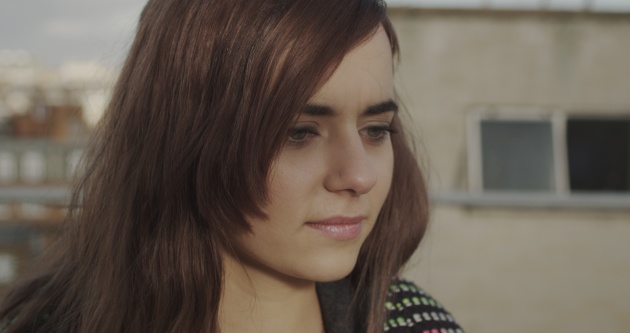
For Close ups we were really able to create a distinctive look of dusky sunlight. Which was great, as the last shot is facing a dusky sunset. It’s not everyday you get a nice dusky sunset in Britain, so when you do, it’s best to shoot into it.
As you can see from some of the photos, we shot on Red. It’s the 2nd time I’ve been able to DP on Red, and I’m in love with the look. It’s got a lot of dynamic range (the amount of exposure range between the dark in your shadows and your highest bright spots), allowing for a forgivable range of exposure. The MX sensor is a great sensor, and the great thing about this new RED, the scarlet in this case), is that it’s a RED One shrunk down to about 1/3 of the size, and about 1/5 of the weight. It’s like a large DSLR now that’s about to pump out some pretty awesome 4K pictures (4K is four times the resolution of 1080p)
However, to get the optimum amount of dynamic range, you have to apparently shoot on ISO 800. Now as simple as that sounds, getting an exposure at ISO 800 when you are shooting on a clear blue sky day means you need to either set your F Stop at something ridiculous high (the exposure meter told me f22 when I had N0.9in!!!) or just load it with ND filters (ND= Neutral Density, which are basically a sunglasses for your camera).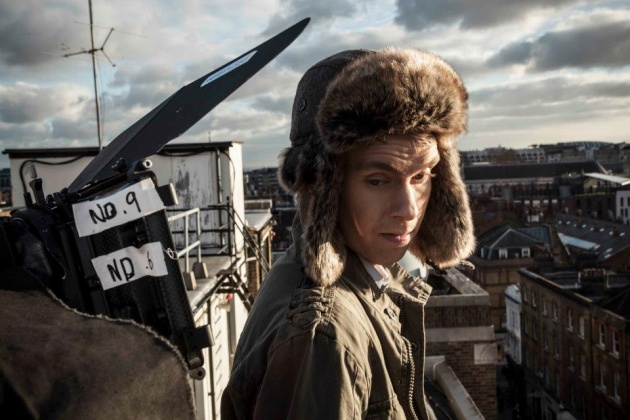
We were limited on how many filters we had so I decided to rate the RED at 320 ISO. I didn’t really notice much loss in dynamic range (but I wasn’t shooting at a chart so I couldn’t be sure haha). So we went with that.
(Emotional close up mmm)
Another thing I got to try out, was filming on some Zeiss ZE glass. 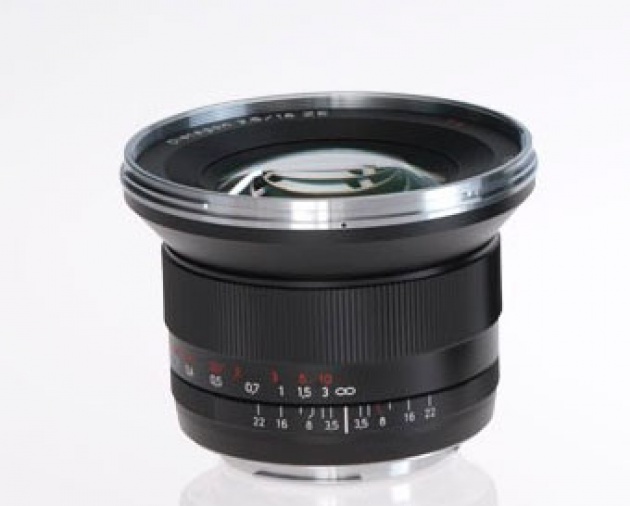
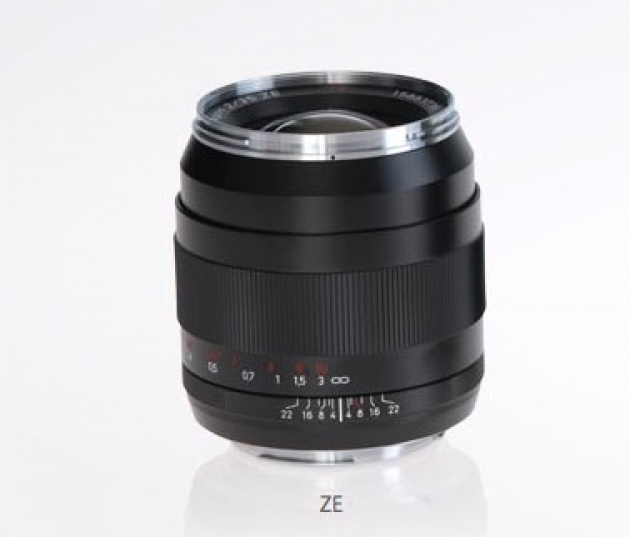
These lenses are really sharp, and when shooting in 4K you want nothing to soften your image. We had a 18mm f3.5 and a 35mm f2(My favourite on the day). Another great thing about these lenses (and this is one for the focus pullers), is that it had a decent lens through and hard stops. As a I have mainly been shooting with Canon L series glass the biggest problem I found was the never ending focus wheel and auto focus.Whilst it’s great if you are taking pictures, when you are filming, you need a HARD stop so your focus puller has a chance as when they are mounting the lens. This has been one of the main draw backs of using still lenses instead of proper cinema ones. However the still lenses STILL(hehe pun) look fantastic. Like in the shot above. However none of this would have been possibly without my camera team. Nick & Carl, both did a great job making sure things ticked over. Nick kept everything in focus, and Carl just made sure I didn’t have to worry about anything technically on the camera.
Ewan who has taken the lovely production photos, also chipped in when needed, and did great.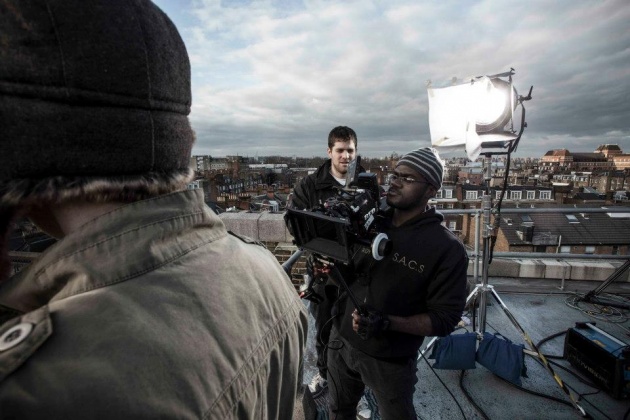
It was a great shoot, and although the sun was a pain, I’m glad with the results, and more importantly, the director is happy with the look of the film. There are always things you would do differently given more time but you could probably say that about anything to be perfectly honest. And it was just great to finally shoot something again.
Now that’s out of the way. It’s time for DIEMBE!!!!


