
Thanks to the release of Windows 10 for multiple single-board computers, tinkerers are now waking up to the possibility of running Windows as a usable and surprisingly polished alternative open source operating systems like Raspbian. But how do you run Windows on a RaspPi? And why?
First, I invite you to check out Microsoft’s refreshingly complete GitHub page where they offer instructions for installing Windows 10 onto Raspberry Pi, Arduino, Galileo, and MinnowBoard. The page offers instructions for getting the official “Windows Embedded IoT” image for use with these devices. You can also just download it here.
A note to OSX users: I originally hoped to include instructions on how to flash an SD card for RaspPi2 using OS X or Linux but, sadly, Microsoft’s FFU image files require specific Windows file handling software. I tried converting this to an image file using obvious methods (changing the extension) and unobvious methods (looking hither and yon for an answer) but generally it was a problem I couldn’t solve. I will update this post when I find a solution.
Here is how to install Windows 10 IoT onto your Raspberry Pi.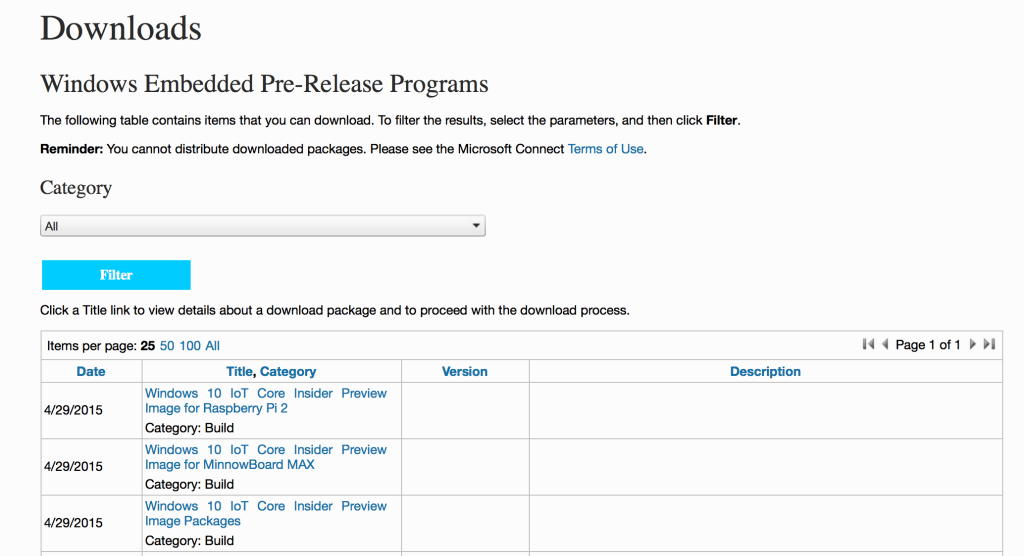
1. Create an account at Microsoft Connect.
2. Download the file Windows_IoT_Core_RPI2_BUILD.zip which contains flash.ffu. Place this file in an accessible place.
3. Insert a blank 8GB Class 10 SD card into your computer.
4. Open a command prompt and type:diskpart
list disk
exit
This will allow you to find the drive number for your SD card. Use this in the next step.
5. Finally, follow Microsoft’s own instructions for flashing the SD card in Windows 10.
Using the administrator command prompt, apply the image to your SD card by running the following command (be sure to replace PhysicalDriveN with the value you found in the previous step, for example, if your SD card is disk number 3, use /ApplyDrive:\\.\PhysicalDrive3 below):
dism.exe /Apply-Image /ImageFile:flash.ffu /ApplyDrive:\\.\PhysicalDriveN /SkipPlatformCheck
6. Safely remove the SD card.The card is now ready to boot in your Raspberry pi2
Why would you want to do this? Well, as Microsoft notes, “Windows 10 IoT Core is a new Windows 10 edition for low-cost, small-footprint devices that will be available ‘free’ for Makers and commercial device builders.” This means you can easily flash and use a stripped-down version of Windows in your own projects. Interestingly, this version of Windows will be very familiar to users of similar platforms like Arduino and Rasbian.
Don’t expect to be playing Far Cry on this thing anytime soon – think of it as more of a universal app platform that connects to simple devices like Arduino-based relays and LEDs. In fact the UI is quite limited unless you program some apps yourself.
It’s a surprisingly friendly move by Microsoft to bring this to market, however, and I think even the most die-hard open-source fan will agree that getting more people to use Raspberry Pi in embedded projects is a noble goal – whatever the OS.
Let me know if you guys have built anything cool using Windows 10 and maybe we can showcase some of the products down the line.