Hello, Bitlanders. For the past few weeks, I had been using Pixteller.com to make my graphics for bitLanders. So, I thought I would post a quick basic tutorial on How To Make Amazing Web Graphics Quickly Using Pixteller.
I have already shared with you the features and the environment of Pixteller in my post Why I Love PixTeller
Image Credit: @artbytes via Bitlanders
Design In Seconds
Design in less than a minute
Video Credits: Alexadru Roxnovat via YouTube
Just like in the video above, in this post, I will share with you how to make a web graphics in less than a minute using an existing template. For this particular tutorial, I will use one of the photo collage for the background.
Note, you can do this in less than a minute if you have a stable Internet connection.
How to Make Amazing Web Graphics Quickly Using Pixteller
-
Open Pixteller.com
Using your web browser, preferably Google Chrome, go to Pixteller.com. If you don't see the page as shown in the image below, click the 'Create' link. In this tutorial, I clicked on 'Social Media Post'.
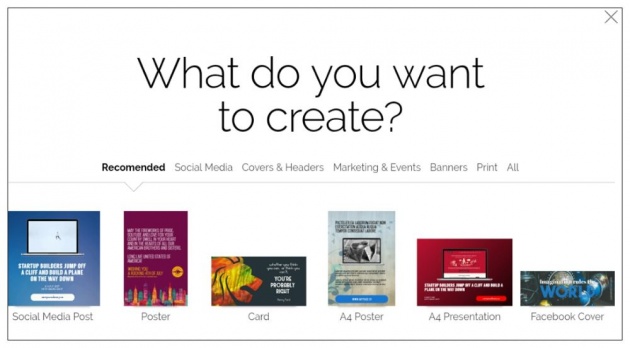
What do you want to create?
Image Credit: @artbytes via Bitlanders
-
Search For a Photo Collage
After selecting 'Social Media Post', I searched for 'Photo Collage" on the search box. Pixteller will display at least two pages of templates to chose from. On the second page, I found a template with four pictures with the text 'Las Tic en La escuela'
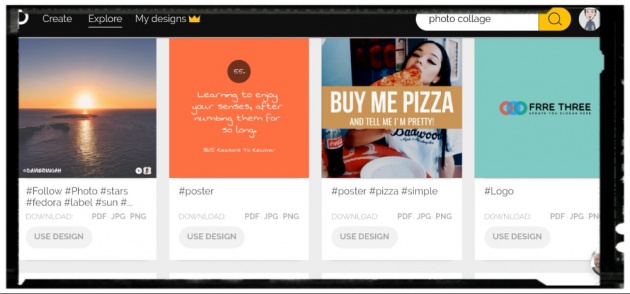
Search for "Photo Collage"
Image Credit: @artbytes via Bitlanders
-
Use Design
Once you have selected a template, Pixteller will show you a preview. On the bottom left of the screen, you will the 'Use Design' button.
Clicking on the "Use Design' Button will clone the template so you can make changes on your copy without changing the original work.
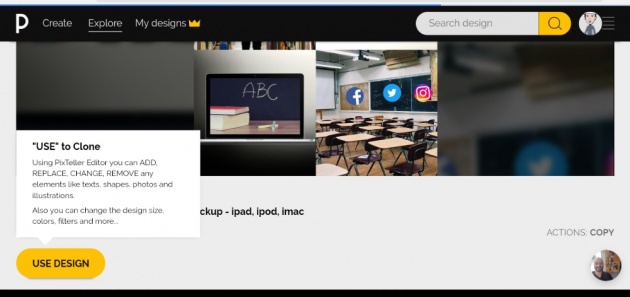
Use Design
Image Credit: @artbytes via Bitlanders
-
Edit The Text and Change the Font
The next to do is to edit the text and change the font.
- Select the text 'Las Tic en La escuela'.
- Using the text box on the left, you can enter the new text. In this example, the text is "How To Create Awesome Web Graphics Using Pixteller"
- Just below the textbox, you will find the "FONT" option. I changed it to "avoid"
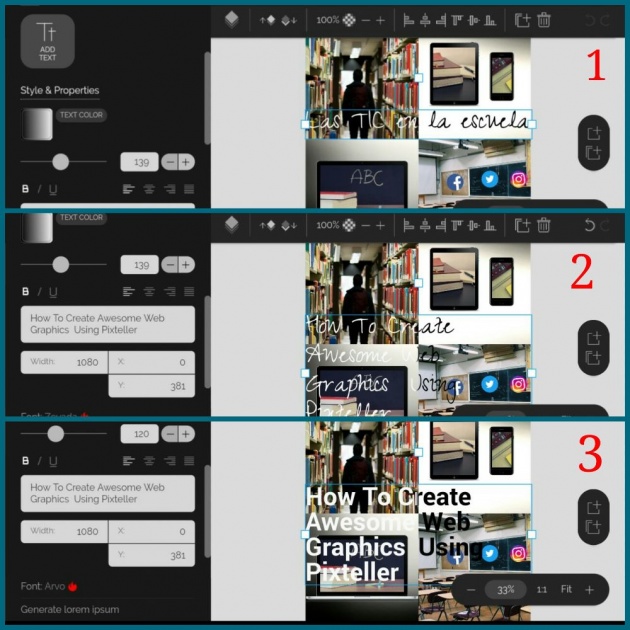
Edit The Text and Change the Font
Image Credit: @artbytes via Bitlanders
-
Adding shadow (No image)
Just below the "Font" option, you will find the "Filter" option. I added a shadow on my text. I will make a separate tutorial on adding filters soon.
-
Replace Image(s)
You can easily change any or even all of the images used in the template. To do this,
- Select one of the images. Then on the left panel, select "Replace Image"
- Browse through the existing images or you can filter the images or even upload one of your own.
Replacing an image this way is faster. You no longer have to resize, crop or move the new image. Instead, it will automatically adopt the properties of the previous image.
In this example, I selected the image on the lower-right corner. Filtered the images using the keyword "computers" and clicked on the image that I wanted.
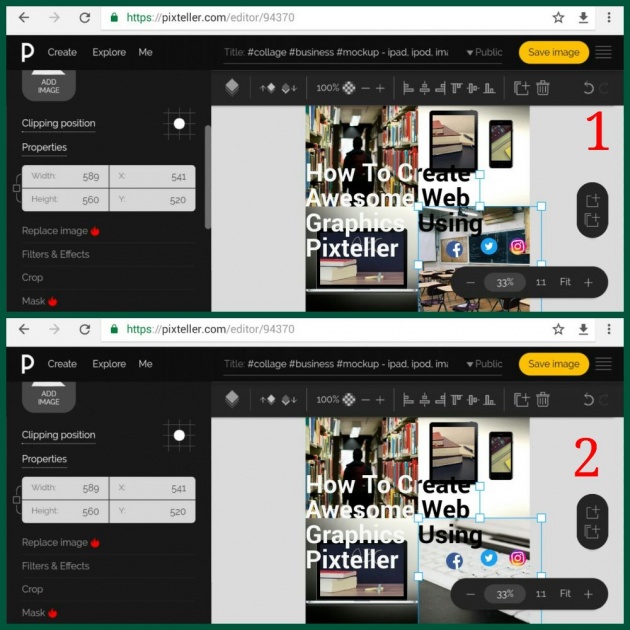
Replace one or all the images used in the template.
Image Credit: @artbytes via Bitlanders
-
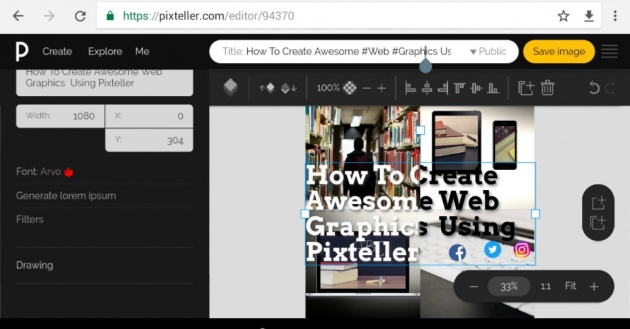
Change the Title of Your Project
Before you save your project, you have to give it a descriptive name. The box to the left of the Save button is the title of your project. Always give each of your projects a descriptive name. Otherwise, you will have a hard time looking for it when you need it later.
I originally named this project "How to Create Awesome Web Graphics Using Pixteller", which was the original title of this post. I will explain later why I changed it.
-
Save
Always save your work from time to time. Especially for bigger projects, don't wait until you finish everything before saving. Anything can happen between you start editing and before you finish your work. Your Internet connection might fail anytime. Saving your work every few modifications will save you time later.
For a free account in Pixteller, all your work will be saved as a public file. Meaning all your works can be seen by others. For premium accounts you have the option to save your project as a private file.
Save your work.
Image Credit: @artbytes via Bitlanders
-
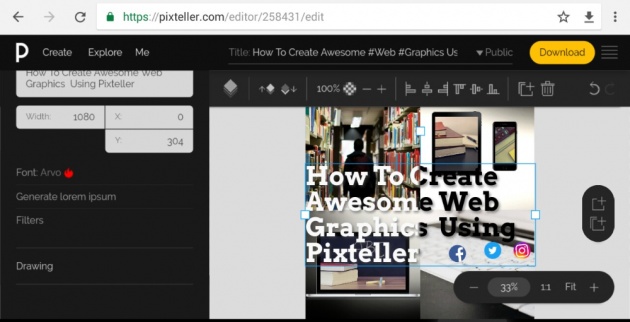
Download
After saving your work, the "Save" button will change into "Download" button. If make any changes afterwards, however, it will revert back to "Save" button.
If you choose to download your work, click or tap the "Download" button.
After tapping or clicking on the "Download" button, a preview of your work will open in a new tab. On that new tab you can choose which format you want download. The options are:
- . PNG (Portable Network Graphics)
- . JPG (or JPEG- Joint Photographic Experts Group)
- . PDF (Portable Document Format)

Preview of my project, ready for download.
Image Credit: @artbytes via Bitlanders
We Are Done!
Congratulations, if you have followed this simple tutorial, you have already created your first web-graphics using Pixteller.
Post Edit.
After creating this tutorial, I made additional changes on my work.
- Instead of adding a shadow, I changed it to border.
- I changed the title to get a better score at coschedule https://coschedule.com/headline-analyzer.
To cap off this tutorial, I created a short video slideshow of some of the works I did using Pixteller.
Video Credit: @artbytes via Bitlanders
Thanks for Reading
~oO0Oo~
John Reynold Loberiza (a.k.a @artbytes) is a freelance graphic artist, web developer, and blogger. He is also a licensed Financial Adviser under Insular Life.
The content of this blog post is the author's original work. Proper credit is always given to the respective sources of information and images. Please feel free to check out my other blog posts: http://www.bitlanders.com/Artbytes/blog_post
If you have any reactions or inquiries regarding the subject of this post, please write it in the comment or send the author a private message.
For more information or questions you can also:
- Visit my personal blog: https://jrlcentral.xyz
- Follow me on Twitter: http://twitter.com/jrlcentral
- or email me at jrlcreativeideas@gmail.com
~°~°~°o0O0o°~°~°~
Join Bitlanders
If you are not a member of Bitlanders yet and you are a content creator- a writer, blogger, photographer, an artist or a hobbyist, you can earn from your creations (blog posts, photos, artworks, or videos) by uploading them in Bitlanders.
You can join Bitlanders by clicking this link-> http://bit.ly/Join_bitlanders