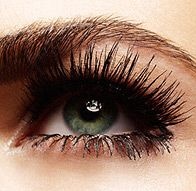
Mascara is a crucial component of many people’s makeup routines, but there’s more to this step than a simple sweep across your brows. To get long, full, fluttery lashes that open up your eyes, you need to get your technique down. No one wants clumpy lashes (unless that’s what you’re into…)! To learn how to apply mascara like a pro, keep reading!
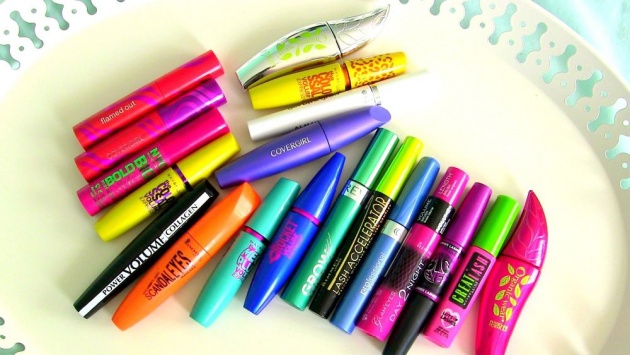
First things first, you need to pick the right mascara. There are so many options out there so you have to decide what’s most important to you. Volumizing? Lengthening? Waterproof?
The following are some of my favourite mascaras that I would reccommend to use.
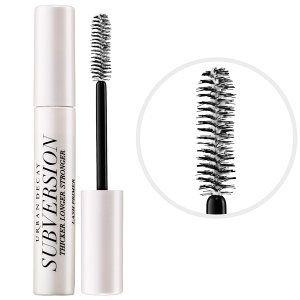
Urban Decay Subversion Lash Primer: If your lashes are on the thin side or you just feel more comfortable using a primer before any type of makeup, consider UD’s Subversion. It preps your lashes, ensuring eyelashes that look much fuller, longer and falsie-like. The thick brush allows you to coat all of your lashes in one sweep.
Once you’ve found your ideal mascara, it’s time to start coating those lashes! Here’s a step-by-step application guide:
STEP 1: Once you’ve finished applying your eyeshadow and liner, grab a lash curler. I’ve recently come to the realization that a good lash curler can be your best friend. My lashes look incredible before even a hint of mascara has touched them. My go-to is Shiseido’s – it has a long enough band that I can grab all of my lashes at once. Place your lashes within the band, give three good squeezes towards the roots and be amazed at the difference.
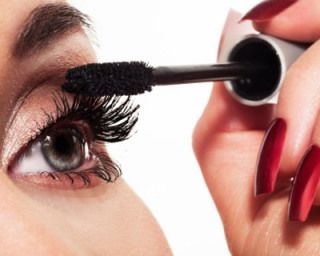
STEP 2: Pull out the mascara wand carefully. It’s a common practice to pump the wand in and out to get the most product, but this is a major don’t. By pumping in and out, you’re allowing air into the tube, which makes the mascara dry out faster. Mascara has a relatively short shelf life as it is, no need to make it even shorter. Instead, twist the wand up in a back-and-forth motion to get the desired amount of product. Make sure to dispense of any excess for a clump-free application.
STEP 3: Start with your upper lashes. Gently blink your eyes to coat the back of your lashes – give it one swipe from root to tip. One coat is all that’s necessary for the back of your lashes – you will get clumps otherwise. Coating the back is especially necessary when using colored mascara, so the entire look is cohesive. Then, look straight ahead and place the wand at the base of your upper lash line, slowly moving it upwards in a back-and-forth motion. This is where some practice is necessary. It’s all about getting the right technique to avoid dreaded clumps. Plus, using the back-and-forth motion will help to curl your lashes even more. Apply 2-3 coats until you reach your desired effect.
STEP 4: You can use the same technique to coat your bottom lashes, but I prefer to hold the wand vertically. I don’t want my bottom lashes to look as intense, and this gives me some extra control over the look. If you have any deluxe samples of mascara (regular Sephora or Ulta shoppers definitely have plenty!), they’re perfect for bottom lashes. If extra product is landing on your cheeks when you’re applying, put something like a business card, a spoon or Shadow Shields over your skin/under your lashes to combat fallout.
STEP 5: Use a Q-tip and some petroleum jelly or eye makeup remover to get rid of any stray mascara that may have landed on your skin.
STEP 6: I highly recommend buying a lash comb. It’s not necessary, but it’s great for getting rid of any clumps. Take the lash comb, and after each coat, brush through your lashes. This will give the most feathery, falsie-like lashes possible.