In this tutorial, we will introduce the setting-up for Antminer S7(4.37TH @ 1293w) bitcoin miner.
{Miner Specifics}
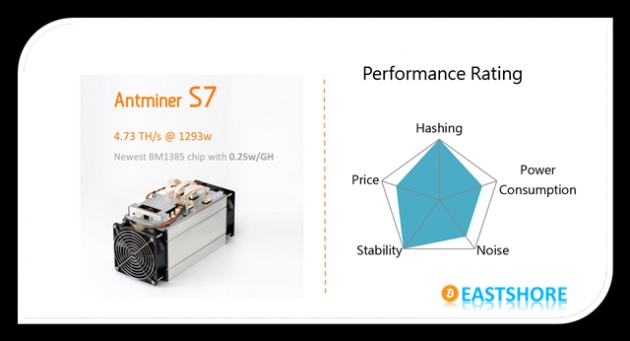
Hash Rate: 4.73 TH/s ± 5%
Default Frequency: 700M
Power Consumption: 1293W ± 10%
Chip quantity per unit: 135x BM1385
Dimensions: 301mm(L)*123mm(W)*155mm(H)
Cooling: 2x 12038 fan
Network Connection: Ethernet
PSU: NO PSU
PSU Recommend:
750w PSU (NEED 2): check here
1600w PSU (NEED 1, RECOMMEND): check here
{Official Manual}
You can get the official manual here
{Visual Inspection}
When you first receive this miner, it is VERY IMPORTANT that you perform a visual inspection before powering the device. Give the machine a gentle shake and double-check that no heat sinks have become loose or fallen off in transit. (If the device is powered without heat sinks properly attached, the hash board will get burnt and will no longer function.)
If any heat sinks have fallen off, please buy a heat sink plaster in your local market to fix the heat sink. (The heat sink plaster is usually very easy to get in your local market and it is very cheap too.) DO NOT power on the miner before you fix the fallen heat sink. The following picture is an example of the heat sink plaster (The heat sink plaster should be sticky):
{Before Start}
Please prepare PSUs (can afford the power >= 1500w and with 6pin x 10); You can use several PSUs to connect to one miner. But plz DON’T connect 1 PSU to more than 1 miner or more than one hashing board.
Connect the miner to the router by internet cord.
For miner configuration, plz use the ethernet cord to connect the miner to the same router which your PC also connected. (Your PC is just needed for miner configuration)
{Miner Connection & Mining Guide}
First, please check if all the cables on the miner are inserted tightly.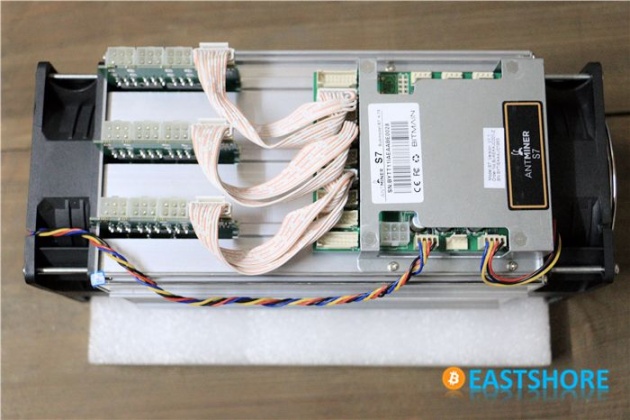
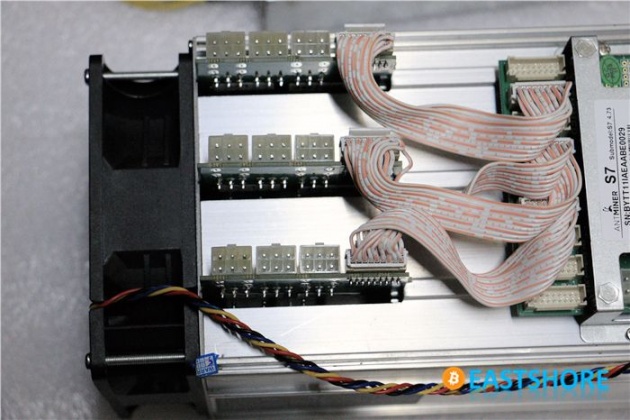 There are 10 x 6pin ports on the miner. You need to connect all the 6pin ports to your PSU.
Important: there are 3 hashing boards in the miner, and 3 x 6pin ports on each hashing board. DON’T connect more than one PSU to one hashing board. (That’s means, the 6pin cords you connected to one hashing board should come from only one PSU.). See below pictures for the correct connection and the incorrect connection.
Correct Connection: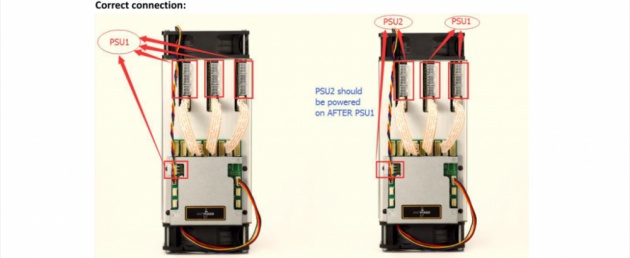 And you can get more power supply connection details in the official guide: www.bitmaintech.com/files/download/Antminer%20S7%20user%20guide.pdf
Insert the ethernet cord.
Miner connection DONE.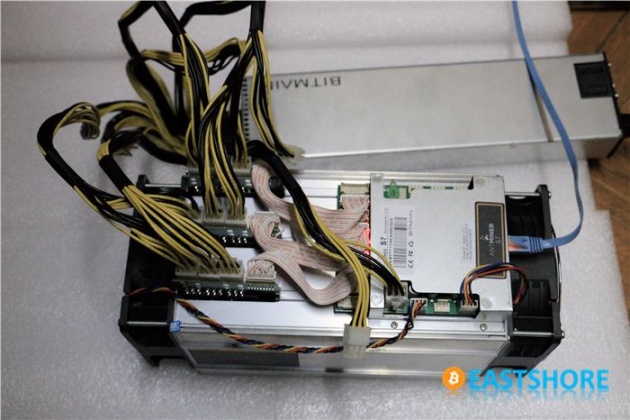 Power on the miner. (Important: If you used several PSUs for the miner, you should power on the PSU which connected to the 6pin port beside the controller FINALLY. For example, if you used a CORSAIR 850w PSU connected to the port beside the controller (And also the other two ports on the miner), so at first, we power on all the other PSUs, then power on this one).
Wait for about 1~2 minutes, the fan of the miner will work loudly for a while, then it will be slow down.
Then, please use software to scan out the IP of the miner on your PC. For how to scan out the IP of the miner, check here: www.eastshoretrade.com/how-to-scan-out-the-configuration-ip-address-of-the-miner/
Then you can login the miner configuration page with the IP you just scanned out. (The username and the password are all “root“)
Change to the page “Miner Status” and keep refreshing the page until some data (Speed, miner account, pool etc.) is shown on the page (This means, the mining is starting. Generally, the miner need about 3~7 minutes to start mining). The fan of the miner maybe gets loudly and slowly for several times while you are waiting. And sometimes, the data on the page maybe disappear again just few seconds or one minute after the mining starts, don’t worry, please waiting for the miner working constantly.
Change to the page “Miner Configuration“, configure your mining pool address, mining account, miner password etc. And click “Save & Apply”.
Save the changes, then wait for about 1 minutes for the setting applying.
Change to the page “Miner Status” again, and please refreshing the page until there are some data shown on the page. Then the mining is starting.If there is no any data shown for a very long time (for example 10 minutes) or there are a “BiBi” noise comes from the miner, please try to restart the miner (power off it, wait a minute, then power on it again). After restarted, please change to the page “Miner Status” page and waiting for data showing.
Different miner may act different from each other, just wait for the miner working loudly and constantly. Here is a test video for this (When the PSU is just power on, the miner is not working yet, the loudly sound is from the PSU):
If you have any problem, please contact us: www.eastshoretrade.com/contact/
{Mining Speed Note}
The final model of Antminer S7 is “4.73 TH/s @ 1293w” with the “Default Frequency” setted as “700M”.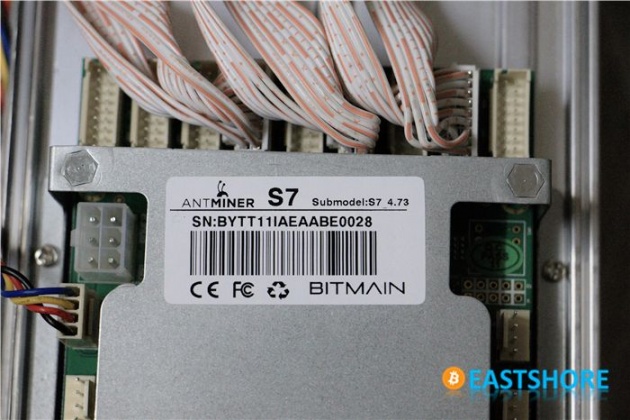
In our test, the “GH/S(5s)” on the “Miner Status” page may change frequently, but the “GH/S(avg)” will keep stable. So please don’t worry about the frequently-changed speed of “GH/S(5s)”.
However, if both the “GH/S(5s)” and “GH/S(5s)” are very low (eg. 3000GH/s), please just restart the miner, and the speed will be normal.