Let your child paint with their fingers. Finger painting is an enjoyable and messy activity. Cover a table or tray with newspapers or a waterproof table cloth, and give your child a little bit of each colour of paint. Let them loose to create and enjoy. Use cardboard rolls, vegetables, sponge shapes, leaves or hands to make prints of all kinds. Dip into paint and press onto a piece of paper.
-Source: Help my Kid Learn
Finger-painting is a wonderful hobby that everyone can enjoy. As far as we know, Chinese artists were the first to finger-paint and it was more than 1,200 years ago. It was not until this century, however, that special paints were invented just for fingers-painting. These paints are harmless and they can be easily washed off.
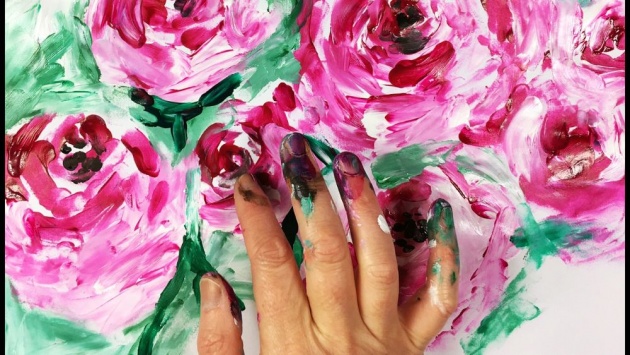
Image ©: Youtube
HOW TO FINGER PAINT
No special skill is needed to finger paint. All you need is the desire, some paints, and glazed or washable paper. You should paint on the table that can easily be cleaned, or you should cover the table with the newspapers. Have a bowl of water and some clothes ready. It is also a good idea to wear an apron.
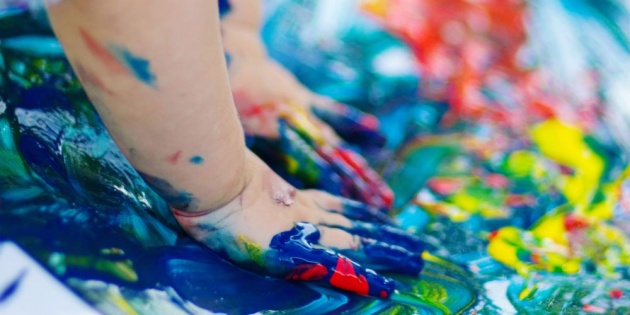
Image ©: CQ-Rural Health
It is best to stand up when you are finger-painting. This will give you the plenty of freedom to move your hands about.
The first step is to wet both sides of the paper by holding it under the tap. Then place the paper, shiny side up, on the table. Smooth out any wrinkles or air bubbles.
Put a heat teaspoonful of paint on the paper and spread it with the palm of your hand until it covers the entire sheet. If the paint feels sticky, add a little water and mix it with the paint of the paper.
Now you are ready to try various movements with your hands and fingers. Try straight strokes and curved ones, wriggles, and zigzags. Be sure to press hard enough so that the design can be seen.
Materials
Fingerpaint is non-toxic, and is usually sold in packages of six bright colors. The paints can also be prepared from non-toxic household products such as flour or cornstarch.Some childcare facilities use instant pudding as fingerpaint eliminating the need to keep the children's fingers out of their mouths.
-Source: Wikipedia
FINGER-PAINTING MAGIC
You can work magic with finger-paint. Smooth the pain with the palm of your hand and the picture disappears. Move your fingers or hand firmly over the pain and suddenly a new design appears. The fun of finger-painting is in finding new designs. Just rub out a design and keep moving your hand until you make a painting you want to keep.
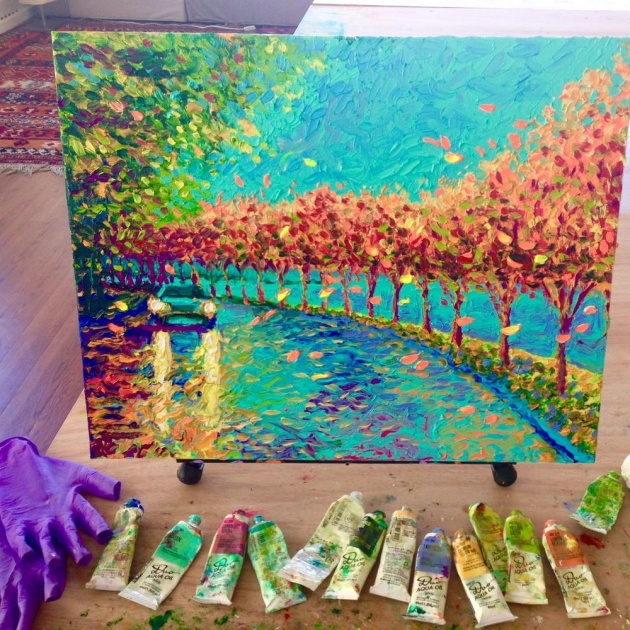
Image ©: Irish Scott Fine Arts
If this is your first adventure with finger-painting, practice all the different strokes with one color. Each movement of your hands or fingers will give a different effect.
Now you are ready for new ventures with other colors. You can blend colors together by moving your hand gently across the entire sheet. Start with the colors on the set of your fingers-paint. Later it will be fun to make new colors on your own by mixing two or three together.
If you want to keep a design or picture, lift the sheet by two corners and lay it flat on newspapers to dry. Do not let the painting dry on the table, because it may stick and tear if you try to pick it up. When you have the finished painting, wash the table and your hands and arms with soap and water.
Save something each time you finger paint. Even a simple pattern using one kind of movement makes an attractive paper that can be used for wrapping gifts. Before very long, you will be very proud of your finished pictures.
Many useful articles, such as scrapbooks and small boxes can be made more attractive by covering them with finger-paintings. Tin cans covered with finger-painted paper make good pencil and brush holders. Paste a painting into a strong shallow box and you have an excellent tray. Paintings pasted on the cardboard can be cut up into jigsaw puzzles.
MAKING YOUR OWN DESIGN
Artists know many different ways of using each kind of paint. You will have hours of fun making designs and pictures with different parts of your hands and fingers. Collect bits of cardboard, pieces of hard rubber, a jar lid and a comb. Instead of using your fingers, use these objects to make a design in the paint. Cut notches in the cardboard or cut designs in potatoes. Stroke or pat them on a smooth wet finger-painted background. You will be amazed and delighted with the results.
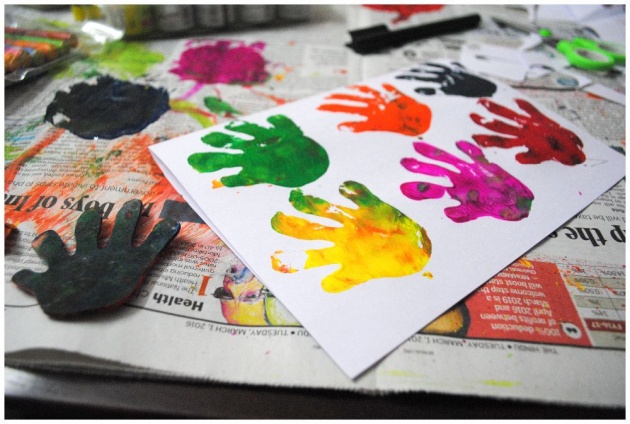
Image ©: The Ship Kala
Any kind of paper, even printed newspaper, can be used for finger-painted transfer prints. Spread the paint on a smooth, washable table-top and make designs in the usual way. When the paint is a bit sticky, carefully place white or colored paper or newspaper on the design. Rub your hands over the back of your paper and the design of the table will be transferred on to the front of the paper.
Another kind of print can be made by arranging pieces of wet-string on the table-top. Wet a sheet of finger-paint paper and lay it carefully on the arrangement, shiny side up. Spread finger paint over the paper and then rub over the surface with the side of your hand. You will then get a raised pattern of the string of the paper. For bolder effects, rub across the smoothed paint with the edge of a piece of cardboard instead of your hands.
FINGER PAINTING, THE EASIEST FORM OF ART
Even the kindergartens can create their own masterpieces by painting with their fingers. Artists who discovered this creative skill had warned that the materials to be used should be nontoxic for the children's safety. Kids will surely enjoy their artwork beautifully. The results can be framed to decor everyone's home.
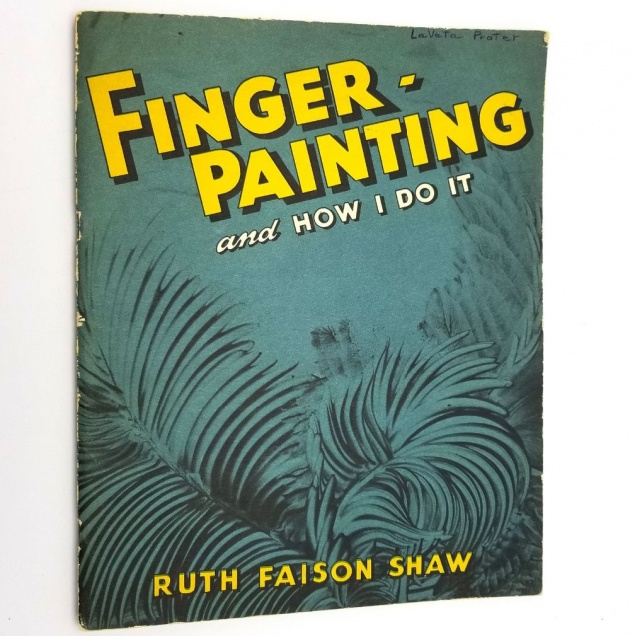
Image ©: Boy Used Rare Books
Ruth Faison Shaw, American artists- considered finger-painting a medium as a healing therapy for the people who deal with psychological problems that can't paint by pencils. Shaw was given a new profession as a therapist after he discovered the power of finger-painting. He also taught that we can use the sponges, rocks, and brushes and other kinds of objects to achieve a different texture of the image.
Courtesy: Shopify on Youtube
✽ ✽ ✽ ✽ ✽ ✽ ✽ ✽ ✽ ✽
The list credits, by the article, the sources of illustrations, used by the author of "How to Finger-Paint". The images are owned by the author.
All rights reserved. No part of this article
may be reproduced without the author's personal experience.