Introduction:
Hi friends today I will show you how to make a simple robot with moving arms. All the parts that are needed in this project are very simple and easily available. You can complete this project in an half an hour. You can make this project in your school for science exhibitions and you can impress your teachers with this tiny robot.
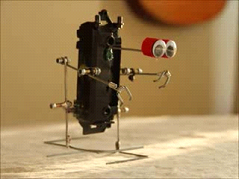
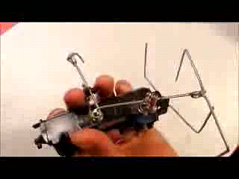
The tiny robot is just look like shown in the picture.
Parts Needed:
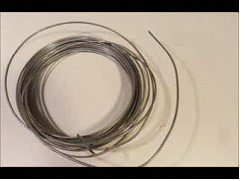
- Galvanized wire
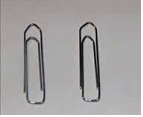
- Two jumbo paper clips
- Two Zip ties

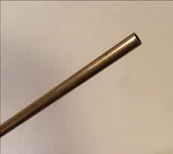
- Brass tube
- (4) long 3mm machine screws (2) short 3mm machine screws
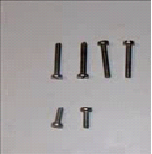
- (2) 4mm terminal blocks (6) 3mm lock nuts (4) 3mm nuts


- (2) tobasco bottle caps (2) Craft eyes
- A gear box

How to make it:
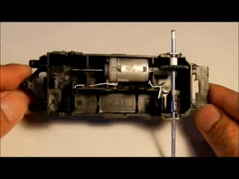
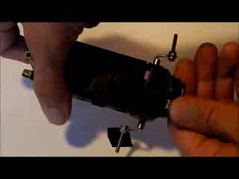
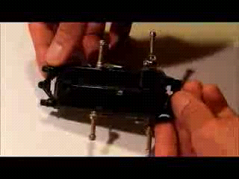
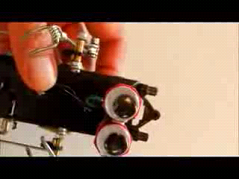
I use a gear box from a broken toy car. It has one AA battery holder, a dc motor with worm gear and a wheel gear on the axle. It has quite speed of rotation. For this reason, crank‘s length plays important key role in walking robot nicely. At this point, the length of the axle of the gear box are different and quite long so first of all shorten them to desired length.
Use terminal blocks to determine the length of axle on each side of the gear box
Mark it with marker and cut them with plier. So that there length will be equal.


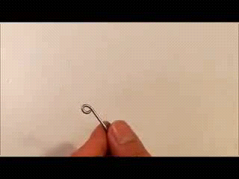
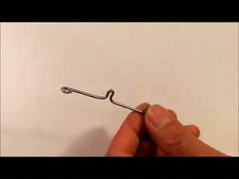
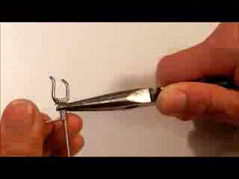
Next step is to make the cranks
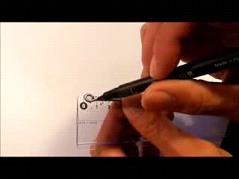
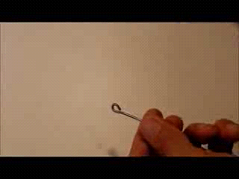
Take a piece of galvanized wire and make a loop and the end of it. The size of loop should be of 3mm or little bit bigger. So you can insert 3mm screw through it. Now only check that is 3mm long screw can pass through loop or not

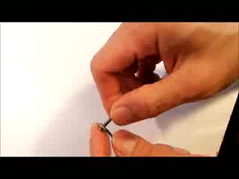
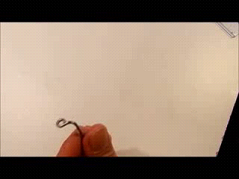
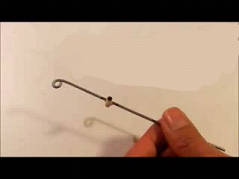
Measure the desired length of the crank (1cm is the good length if the gear box has quite high speed of rotation. Mark and bend it to 90 angle with the help of plier.
Use terminal block to measure the length of crank’s part that will be attached to the axle.
Mark and cut it with plier.
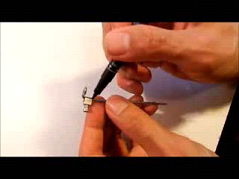
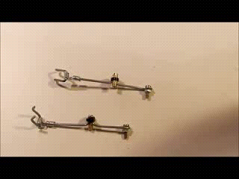
Now insert 3mm long machine screw through the loop and secure it with nut.

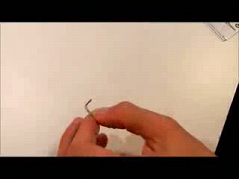
Now make another one just like that.
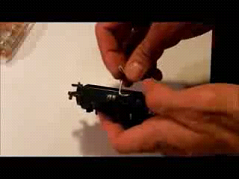
Next step is to attach cranks to the axle and hold them together with terminal blocks. Cranks position on the left side should be the opposite of crank position on the side.

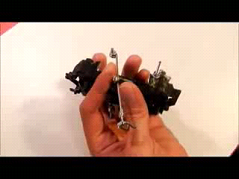
Next step is to make arms holder
To make arm holders actually almost same work as to make the cranks
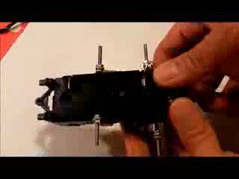
Arm holders are to be attached on the both sides of gear box.
In this project I place the arm holders about 4cm above the axle.
Insert a long machine screw and secure it with nut

Now cut it and curve it just like shown in picture. Make another just like that.
Now paste both with glue on the each side of gear box just 4cm above axle.

Now take a brass tube measure the desired length and cut it into four pieces.
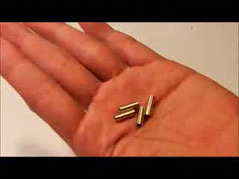
Use the length between nut and lock nut on the machine screw to determine and measure desired length of brass tube.
Reduce the length little bit so they can rotate freely.
Next step is to make the legs of robots
Take a piece of galvanized wire and make loop at one end of it. The size of loop should be bigger than 3mm.so we can insert 3mm machine screw through it
Next thing is to attach brass tube to looped wire like shown.you can join it with the help of soldering iron.
Now measure and cut off the leg to desired length.

now make another just like that.
Now next step is to make the feets of robot.
so for that measure the width between the robot's legs to determine the width of it's feet.
if the width between the legs is for example 7cm then width of each foot should be 6cm.
length of the foot should be longer then it's width.
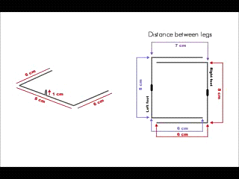
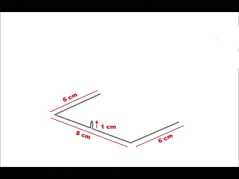
then take galvanized wire and make two shapes like shown below in picture.
hold leg and feet together and join them with soldering iron.like shown

Next step is to make arms of the robot
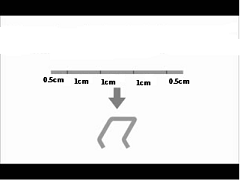
Take a piece of galvanized wire and make a curve and a loop on it.
Distance between loop and curve equal to the width between axle and arm holder's pin
So first thing to do is to measure the width between axle and arm holder's pin to determine the distance between loop and curve.

length of the curve is about 1cm

Ajust curve and loop position wtih plier.
loop and curve positon just look like this
Now put short 3mm screw through loop and secure it with nut

Note: screw and curve facing opposite direction
Now take a brass tube and mount it on curve and then secure it with zip ties
Measure the desired length of arm and cut it off. repeat step and make another one like that.

Next step is to make hands.
so for that take a galvanized wire measure and make shape like shown below
Now take a paper pin and straighten it .then wrap paper clip around the upper part of the robot hand also around the arm


now also make loops on arm just like shown in picture
now arms with hands are ready
Assembling the robot:
Now put hand with arms in arm holder just like shown in picture.
now put feet in cranks like shown in picture
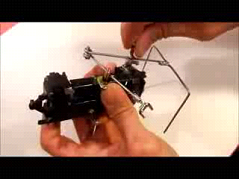
after that secure them with nuts.
repeat this step for other side.
after that secure them with nuts
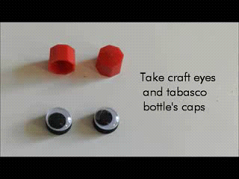
our last step is give robot a personality
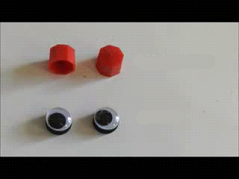
Take craft eyes and tobasco bottle caps
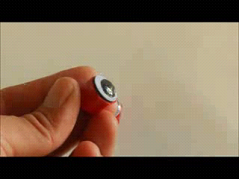
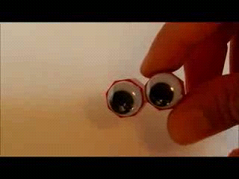
attach them together like this
Them attach both eyes with double tape
Now take a galvanized wire and bend it like this
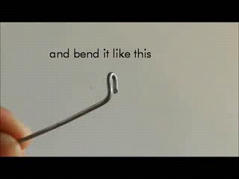
then attach it between the eyes of robot

now paste it above the hands
Result:
robot with start walking like human when battery is put into the battery holder place.
thanks for readings.