Photo Credit: Screenshot via BeFunky.com
Hello, guys!
As we all know writing and submitting blogs on bitLanders requires that you add relevant photos and videos to your post, before sending it for review. According to the newest rules regarding citing of your sources, you need to credit the original author of the photo/video and the location where you took the image. You can check that in Micky's post in his Blogs' section.
Other than using photos taken from the internet and linking to them, another great option to make your blogs outstanding is creating your own images. For this purpose, you will need a good photo editing software, either installed on your computer or through online editing. In this blog, I'll be reviewing one very popular tool, available online that you can use for this job. Its name is BeFunky Photo Editor.
BeFunky Tool
BeFunky develops innovative digital media tools that let people become instant artists and express themselves creatively without the need for any technical knowledge.
Video Credit: Elena Whitten via YouTube.com
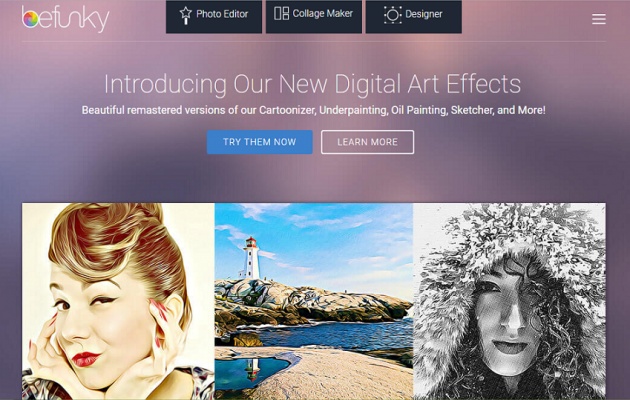
The first time I heard about this tool was when I was searching for an easy to use cropping tool online as I was too lazy to check what's already on my laptop. And this website, called befuky.com was one of the first results I got when searching for these particular keywords. There are many other tools as well, but this one grabbed me immediately as I liked the dark design of their webpage.
Soon I was reading their FAQs and learning what can and can't be done using BeFunky's services. The main two things that concerned me were the price and the rights of usage, i.e. am I allowed to use the photos edited with their software on my blogs. Scrolling down the questions, I came to know that there are two plans for using the tool: Basic plan, which is free and limited, and Plus plan, which is paid and gives you all functionality. Check this here.
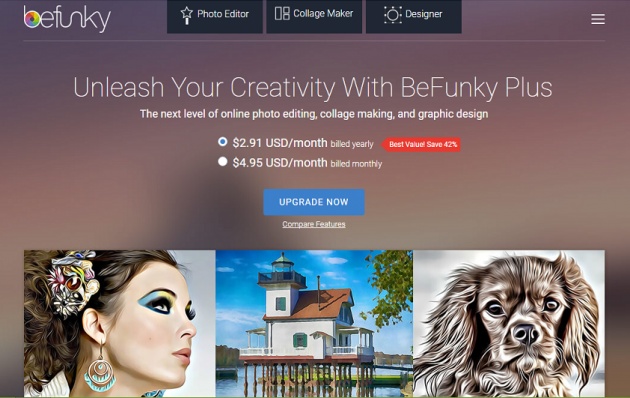
Photo Credit: Screenshot via BeFunky.com
I was happy to learn that images can be used commercially and even sold, no matter which account is used, so this was good news. Now that I knew enough information to decide if the tool fits my needs it was time to explore further its features and abilities. Let's take a look at what it offers:
Features of the Tool
On the very top menu bar, the first thing one would notice is the three main features of BeFunky tool, namely Photo Editor, Collage Maker, and Designer. Each of them has its specific options and capabilities, which I'm going to briefly cover below:
■ Photo Editor

Photo Credit: Screenshot via BeFunky.com
This editor gives you all main functionalities for editing a photo or an image. You have a variety of options to upload your file, including taking a snapshot with your web camera. Once you load the photo, you will see in the bar on the left groups of options and effects you can apply further. They start with the very basic ones, such as crop, resize, rotate, etc., and move on to more advanced effects.

Photo Credit: Screenshot via BeFunky.com
Just to get the idea of it, you get to choose from different Frames, Graphics, Overlays. And some more advanced features like adding text or special effect to change the look and feel of the photo entirely. If you are more into the improvement features, the Touch Up section is just the right one.
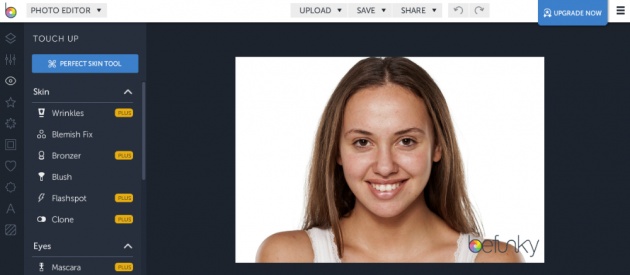
Photo Credit: Screenshot via BeFunky.com
■ Collage Maker
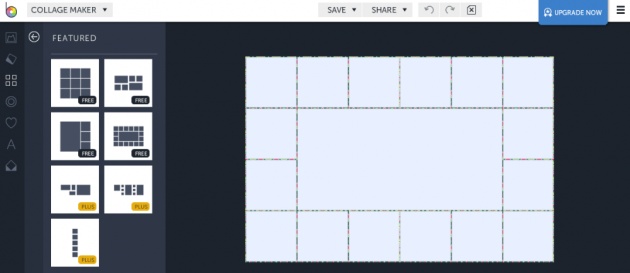
Photo Credit: Screenshot via BeFunky.com
This tool is pretty straightforward, there's nothing complicated in using it. You have all basic functionalities, with the most important one - the layout of your collage. You have control over the spacing, the arrangement of your images, the background, and even the radius (to make the photos rounded). Not to forget, a large collection of patterns is available for free and can be added anywhere in the collage. I think that's pretty cool.
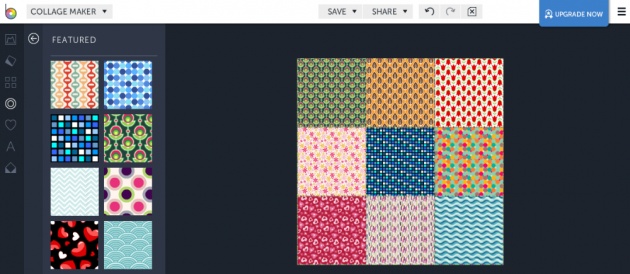
Photo Credit: Screenshot via BeFunky.com
Other options you can check yourself are the Graphics and Text addition, which are also in the Photo Editor. And if you haven't decided what pictures to use, you can easily check the search in Pixabay option and download plus upload directly from BeFunky's interface.
Video Credit: Stephanie West via YouTube.com
■ Designer
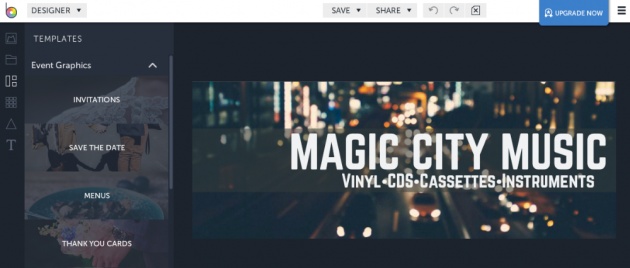
Photo Credit: Screenshot via BeFunky.com
This is my favorite part of BeFunky, where you get to create your own piece of art. I find the Designer really useful and I often make my own pictures with it. You can get ideas on how to put it in action from the Templates section, which stores example designs serving different purposes. There are so many types of images you can choose to create, and most of them have their dedicated template - for example, blog titles/images, social media covers, greeting cards, business cards, etc. My preferred one is the Blank template, which is simply an empty white space where you can start adding elements.
The Blank Templates come in different sizes according to your needs, so that you don't have to resize afterward. What I usually do is add text, background and some graphics, then save the image and upload it in the Photo Editor. This way my new image can be edited with all available effects the tool provides. The Designer is more about creating the initial idea of what the picture would look like. Then this could be tweaked and improved by extra editing.
Tips for Using BeFunky
Every option, effect or feature has additional ways to be customized even more. For example, the Text feature lets you choose the font, the size, the spacing, the colors, and the alignment. Combining two or three of those can sometimes bring amazing results. The whole process of creating is in a way fun and rewarding as you are making something new and unique.
Once the image is ready there are options to save or share it directly to social media. I always save mine offline, so that I have access to them anytime.
Go Mobile
Although this tool is available only online, there is no desktop version or whatsoever, one of the things I totally adore is the mobile app (you can get it from the App Store or the Google Play Store). It includes features unique to a mobile device and makes your experience even nicer allowing you to edit photos on the go. There is no Designer in the mobile app, but instead, you can enjoy a large collection of Goodies: stickers, emojis, accessories, items. I definitely recommend it as it's easy to explore and fun to use.
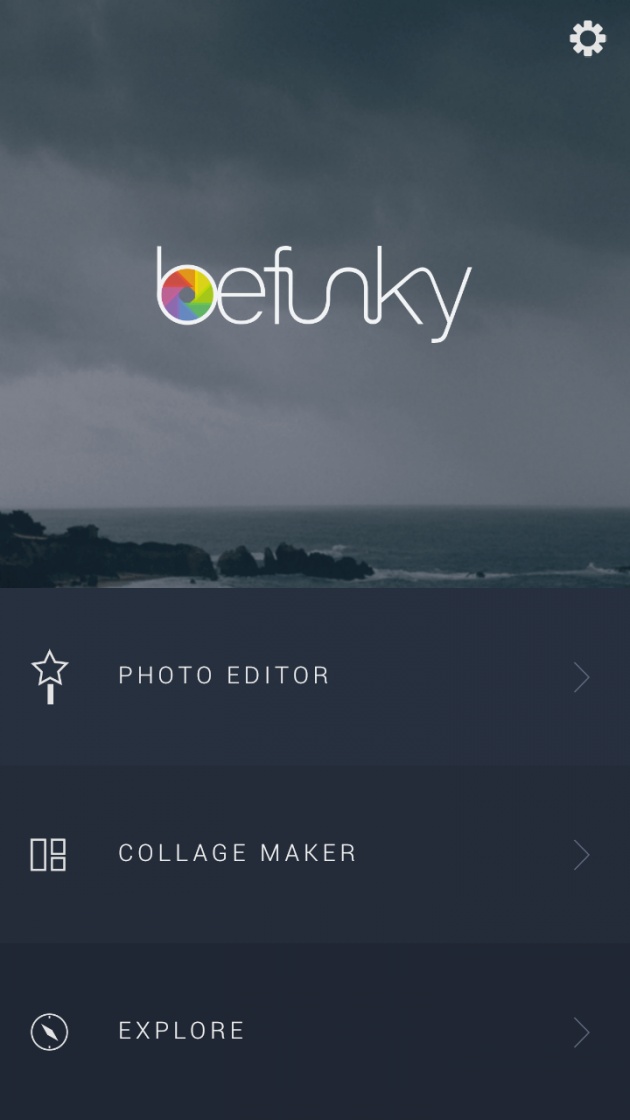
Photo Credit: Screenshot via BeFunky Mobile App
As I've already mentioned, to try the full capability of this amazing tool, you'll need to start a Plus subscription with them, and then all other features will be unlocked for you. To be honest, now that I've used this website quite long, I'm kind of willing to try these features myself, should I have any project related to photo editing or design. Since I'm already impressed by the quality of service they provide, I'm curious to learn more about their features.
In short, that was all I had to say about BeFunky tool, the rest of the features you can explore by yourself. If you'd like to check some examples of photos edited on this website, you can visit the gallery here. I hope you enjoyed my blog and it was useful!
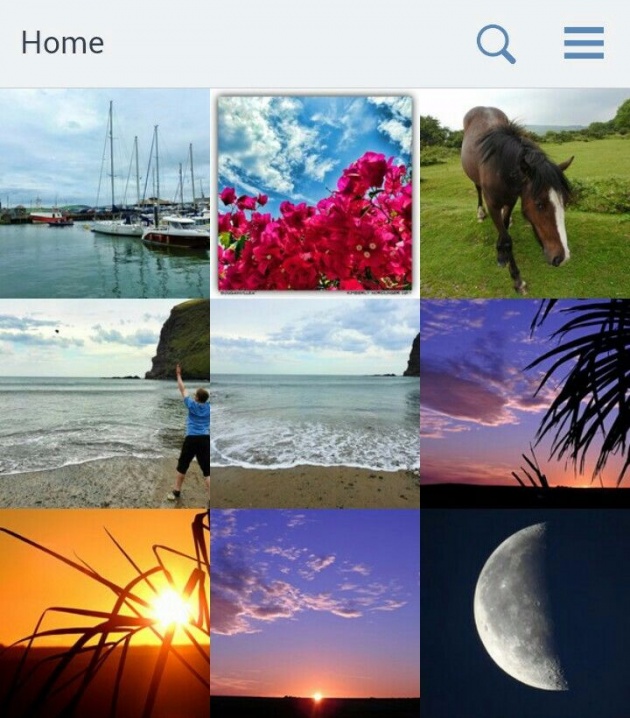
Photo Credit: Screenshot via BeFunky Mobile App
Thanks for reading!
- NinaB