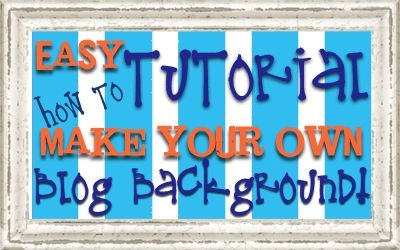
This is my most favorite secret of all! We just updated the coding as of August 2012. It is now super EASY to apply the blog background you made! You can use almost any photo editing program to make your own backgrounds. I use Photoshop, but since that program can be a little pricey, there’s also programs like Gimp and Pixlr that are both free.
Start with a new screen and make sure the sizes are as follows:

Next, open up all of the elements and papers that you plan to use with your background. There are lots of free digital scrapbook download website for you to find cute stuff on. One of my favorite sites isDigiscrapdepot. Remember, there are very strict piracy laws when using someone elses designs. You may only use these elements on your own blog. You may not redistribute these products in ANY way. Be sure to read their terms of use.
These are the elements and papers I will be using for my project today:

Next you need to arrange your papers on your background. Be sure to keep the follow measurements in mind when making your own blog background. Depening on your monitor size you can make the background larger. We do ours 20 inches wide and 10 inches deep. For your center post area you will need to make it 8 inches wide if you have a 2 column blog. If you have a 3 column blog do it 10 inches wide. The nice thing about making your own backgruond is you can play around with all the numbers to make it just the size you want:)!

Add any fun elements to your project…this is the fun part! Play around with the colors, shadowing, sizes of everything. Decide which elements you want to pop and add a glow or shadow around them. Just be creative! Be sure to save your new background as a jpeg.
Below is my final background with the elements added:

This last step I will show you how to upload your cute background you made to your blog. You will need to upload your image to an image hosting site like imageshack. Be sure to check the box under the image you uploaded that says ‘Image resize’. Make sure the ‘Do not resize’ option is marked. Once you upload it copy the direct link and paste it into the code below where it says “INSERT DIRECT LINK HERE”. Be sure not to add any spaces and paste the code in between the parenthesis:
<style type="text/css">
body { background-image : url("INSERT DIRECT LINK HERE "); background-position: center; background-repeat: no-repeat;  background-attachment : fixed; }
</style>

<script type="text/javascript">
var div = document.createElement('div');
div.setAttribute('style',"position: absolute; left: 0px; top: 30px; z-index: 50; width: 150px; height: 45px;");
div.innerHTML = '<a target="_blank" href=" "></a>';
document.getElementsByTagName('body').item(0).appendChild(div);
</script>
Now lets put this code on your blog! If you are logged onto your blog and viewing it then click ‘Design’ on the upper right hand corner.
Now click on ‘Layout’ on the left hand column. Next click on ‘Add a Gadget’. Then click the plus sign next to Html/JavaScript. This is the box you will paste the above code in. Now click save and check out your new background designed by YOU!!


You can still spice up your blog by adding one of our free blog animations, buttons or blinkies to your sidebar. If you like this blog secret be sure to follow us on our Blog, Facebook and Twitter!