Windows 10 is here! It’s officially been released and it’s already much better than Windows 8, period. (Right?!)
Even better, Windows 10 is a free upgrade for most Windows 7, 8 and 8.1 users, so it’s not surprising that many Windows users are upgrading—including users on virtual machines, of course! It’s very easy to install or upgrade to Windows 10 in Parallels Desktop. Let me walk you through the process.
Before We Get Started…
Before you can install Windows 10, please verify the following requirements in order for you to get the best experience on Windows 10 in Parallels Desktop:
System requirements for Windows 10 can be found here. In addition, you need to allocate two processor cores and 2 GB of RAM memory in your virtual machine configuration for a smooth and seamless performance.
Make sure that you’re running the latest build of Parallels Desktop 11 for Mac.
Installing Windows 10 as a fresh installation
This is the most simple and straightforward way to get your hands on Windows 10. If you have prior experience installing any other operating system in Parallels Desktop, it’s going to be even easier.
Take the following steps to install Windows on your Mac using the .iso disc image file.
Step 1: Purchase and download Windows 10.
Windows 10 comes as a USB if you purchase it from the Microsoft Online Store or as an online download if you purchase elsewhere. Either way, we advise you to download the image directly from Microsoft.
Step 2: Create a new virtual machine.
If you have just installed Parallels Desktop, you should already be on this screen. Otherwise, click on Spotlight, typeParallels Desktop and click to launch it. It will bring up the following screen:
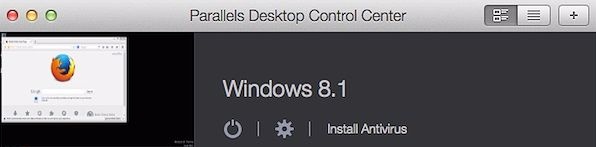
If you already have an existing VM, all you have to do is open Parallels Desktop and press the plus (+) sign at the top right corner of Control Center:
Click Install Windows or another OS from DVD or image file, then click Continue.
Step 3: Select the installation media.
The Parallels Wizard will detect the installation media automatically for installing Windows.
Step 4: Enter your Windows product key.
Click Continue. In the Windows Product Key window, leave Express installation selected.
Note: If Express installation is checked, Parallels Tools will be installed automatically after the Windows installation.
When you’re ready, click Continue.
Step 5: Select how you want to use Windows.
Select how you want to use Windows in Parallels Desktop:
Productivity
Games only
And in Parallels Desktop for Mac Pro and Business Edition:
Software development
Software testing
Design
Step 6: Specify a name, location, and configuration.
Name:
You may specify a name for your VM or leave it at the default.
Location:
The default location for Parallels Desktop VMs is in the /Users/username/Documents/Parallels folder.
If you want other user accounts on your Mac to have access to this installation of Windows, select Share with other users of this Mac.
Configuration:
Change your VM settings by selecting Customize settings before installation and configure the VM as per the system requirements I mentioned earlier.
Step 7: Begin the installation.
Click Continue; from here, the Windows installation will begin. Once Windows is installed, launch it by opening a Windows application or by clicking the Power button in the Parallels Virtual Machines list.
There you go! You’ve got your all-new Windows 10 VM loaded and you’re ready to explore the endless possibilities of a brand-new OS.
Upgrading to Windows 10 from 8.1, 8, or 7
Let’s be honest here. The biggest reason behind us even considering this upgrade to Windows 10 is because…it’s free! We might have to sacrifice one or two simple but favorite features (especially if you’re upgrading from Windows 7), but still, who wouldn’t take a chance to get the latest version of Windows at no cost?
Before We Get Started…
Before upgrading, you must check the following steps to make sure that your upgrade to Windows 10 will proceed smoothly.
Make sure that you have a snapshot of your VM before starting. One of the biggest advantages of a VM over a real PC is the way you can backup/restore the VM, whereas it’s a bigger challenge to do so on a regular computer. So make sure that you take a backup of the PVM as explained here, or at least take a Snapshot as per my co-worker’s blog article so that you can always go back if needed—just in case.
Make sure your Windows is up-to-date. It’s best to check before you start upgrading to Windows 10.
I’d also recommend opening your virtual machine configuration and increasing the memory the same way we did earlier in the post.
Make sure you have at least 10 GB of available space on your virtual hard disk. Add more space for Windows here if required.
Upgrading Windows 7, 8, or 8.1 to Windows 10 in a VM.
To upgrade your Windows VM to Windows 10, please follow the following steps:
Check this article to find out whether your Windows version is 32-bit or 64-bit.
Download one of the upgrade tool files (compatible with your version of Windows) from this Microsoft page.
Run this file and download the ISO for Windows 10.
In my case, I’m downloading Windows 10 Pro version x64, but you may have a different edition and bit:
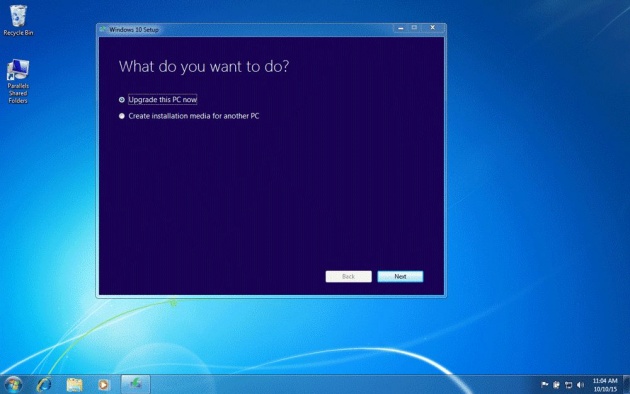
Even though you can click on Upgrade this computer now and continue, it’s better to download the ISO image from the link above. Once you do…
Connect the ISO file to your VM.
Open File Explorer and go to This PC, then run Setup from the mounted image.
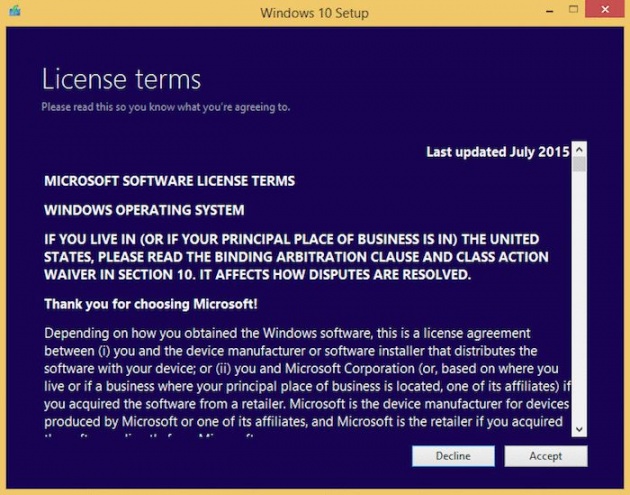
Proceed with the installation.
Restart the VM to continue with the final part of upgrade.
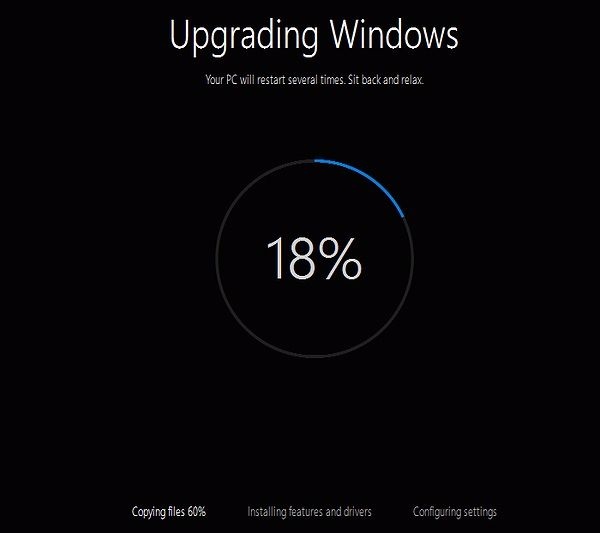
That’s it! Easy! We’ve just upgraded to Windows 10 in a Parallels Desktop virtual machine!