Hello friends and visitors! How's it going? As for me, I've been doing a lot of quality time with Photoshop CC and honestly, playing during weekends is never enough.
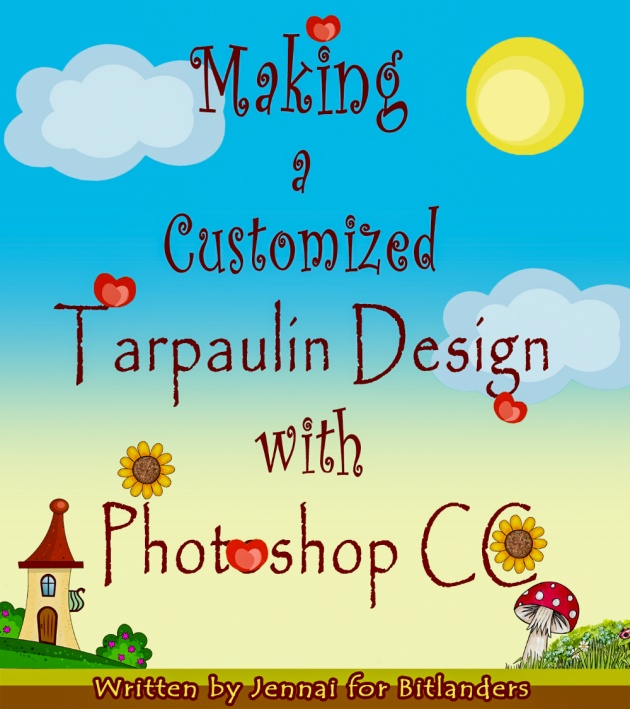
Image Source: Jennai of Bitlanders
In this article, I would like to share with you about a project I've recently finished. I made a customized tarpaulin for a friend and still making more for my online business. Earnings are decent for this type of niche, not to mention, possibilities are endless. Anyway, I hope you find this article interesting though.
Steps in Making a Customized Tarpaulin Design with Photoshop CC
Working with Photoshop CC will always involve working with layers and working with layers literally means that I would have to start from the bottom or basic up to the top of a certain project. I hope you guys don't get confused by what I've just said. Designing with Photoshop CC is just like building a house, first, you have to start with the foundation and then work your way up to the roofing, yep.
Setting up a Background
For this project or for any other projects, setting up a background is one basic step for creating an artwork.

Image Source: Jennai of Bitlanders
So, in this project, I've selected a light beige color with a sky blue color on the upper portion of the layer and here's the color code for it.
Adding Stocks
Stock photos are optional. In this project, I've added some cartoons I got from pixabay.com. See photo below.
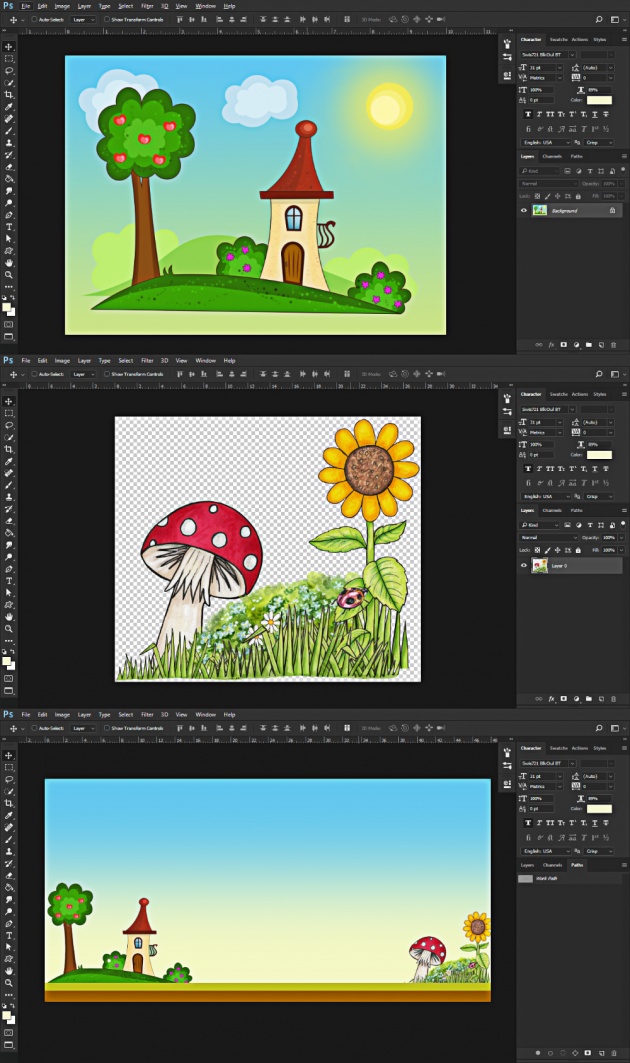
Image Source: Jennai of Bitlanders
Adding Texts and Information
Information is also necessary when designing a tarpaulin or any banner. In this type of business, some of my clients give their photos and themes they want with some kind of quotes or any message they want to be written on the tarp so all I needed to do is compile and arrange them into one customized tarpaulin design.
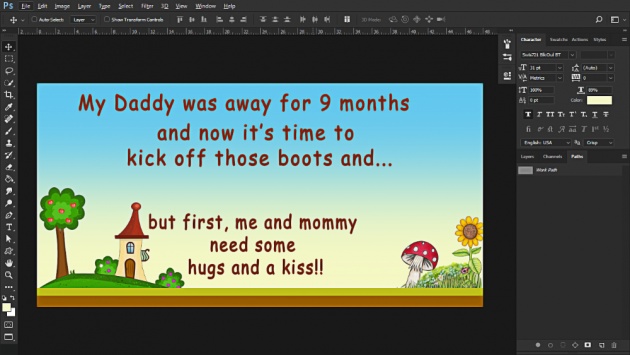
Image Source: Jennai of Bitlanders
Fonts and text colors are also important although, in my own personal opinion, some fonts are difficult to read so I simply just select fonts that are the exact opposite, speaking of basics, it's not always just about how good a tarpaulin would look because sometimes, simpler is better.
As for the text colors, I don't really choose light colors for a text that's got a brighter background because doing so would make the text invisible and you know what means. LOL.
Arranging Texts and Information
After typing my texts and selecting the appropriate colors, I can now change its position and experiment on what other things I can add.
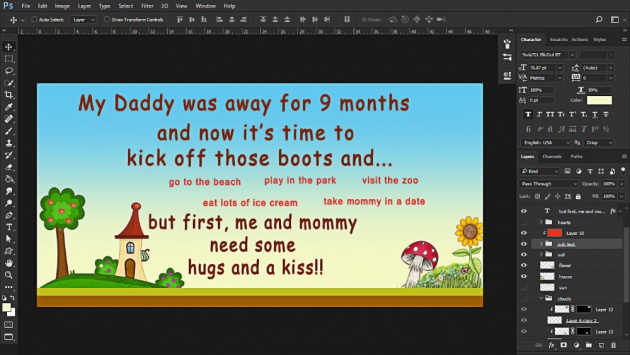
Image Source: Jennai of Bitlanders
As with the idea of adding stock photos, I have decided to put those stock photos on each side and place the texts on center and some are arranged in a way that occupies other spaces which would minimize the conflict with my stock photos.
And then after seeing the draft, I feel a bit satisfied with what the project looks like. And since everything are in Photoshop layers, I can pretty much move them anywhere I want and change the font size or colors or the background or anything as long as I have the raw file.
Saving the File
Speaking of a raw file, as a digital hobbyist, it is always a must to keep a Photoshop document file, just in case my Photoshop crashes as it always does, bummer.
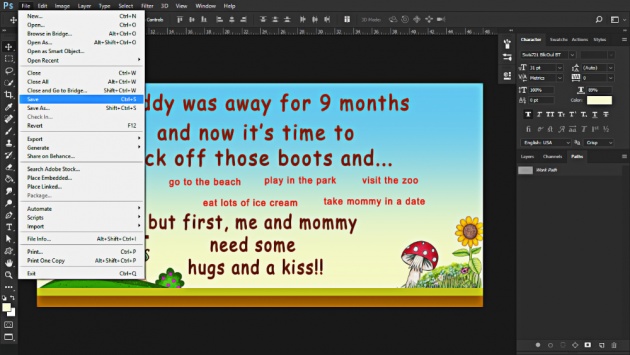
Image Source: Jennai of Bitlanders
After saving my file, I've decided to just leave my project for a just tiny bit of time because well, creating a project is kind of consuming that sometimes, it makes me feel like I can finalize it already without realizing I still need more modifications to do.
Adding Modifications
Ok, so it's back to action. LOL. Revisiting my draft after a quick break is refreshing. I mean come on, everybody needs a break sometimes?! Right?
Text Accessories
Anyway, after looking at my draft, I realized I wanted to add more so I cut a piece of an object from the same stock photo I used for this project, duplicated, resized, rotated and added them to my texts which serves as accessories for letters. Cool huh?! See photo below.
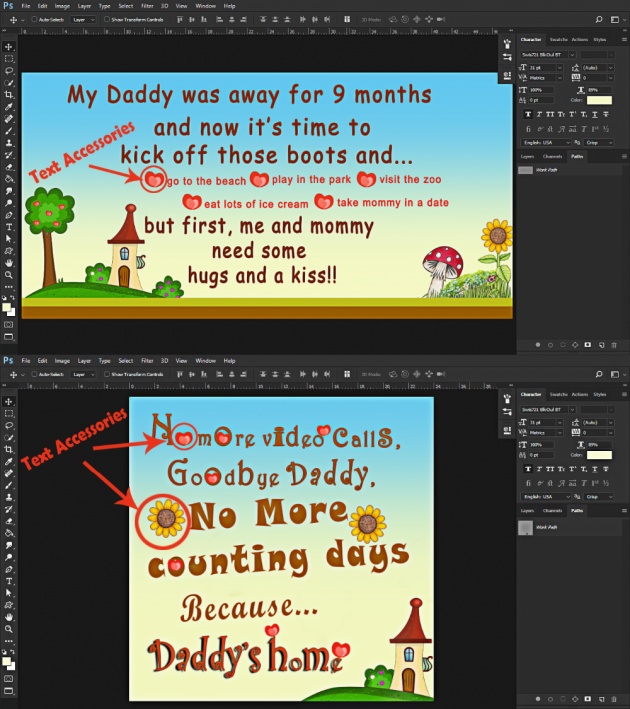
Image Source: Jennai of Bitlanders
Background Modification
As I look at the background I've created with Photoshop, adding clouds and a sun on it would be another super cool thing to do.
And then to make this tarpaulin even more customized, I've added that which I call a cloud photo on the cloud and minimized the opacity so the photos would not contradict with the tarpaulin's message as well as the entire tarp's color theme.
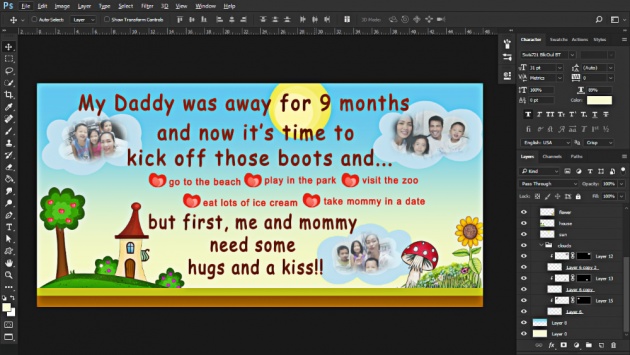
Image Source: Jennai of Bitlanders
Creating a PDF file
Now that I feel like I'm really done with it, I can now save the file into a pdf file for a print ready file. See photo below to know how.

Image Source: Jennai of Bitlanders
And then there's the jpg. file with a lower resolution so my client can see the final design on their computer in case they don't have a pdf file reader. My clients can actually ask for an extra file if they want to, well it actually depends on what they want, pdf, jpg. and png., are most likely the ones I send to my clients.
Color Proofing
But before all those submissions, the last thing I still needed to do is color proofing. CMYK is the color mode for printing purposes and since Photoshop can do this, it's a necessity do so I can see the real color of the tarpaulin on my computer before this project gets printed for real. To do this, I'll just go to the View tab on the upper side of the Photoshop interface and then click on it and select proof colors.
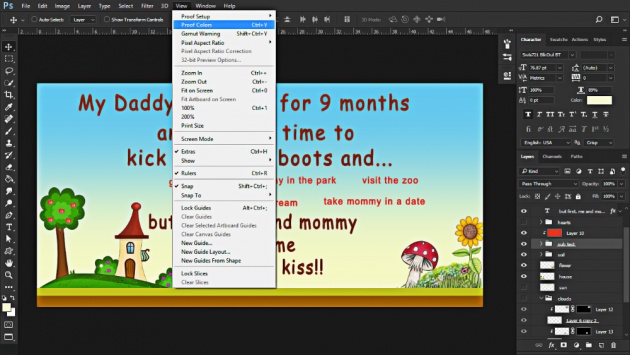
Image Source: Jennai of Bitlanders
The thing I don't really understand about Photoshop is that whenever I set up CMYK mode before I start a project, I don't really get that much access to other Photoshop features which I find essential so this is what I usually do instead, I use the default color mode of Photoshop and just color proof before saving a print ready file.
Video Source: engrjennz via youtube
There it is, another one of my Photoshop journeys. Anyway, I hope you guys enjoyed reading. You can also visit my official blog and find out more about my online photo editing and drafting adventures. Until next time!! Thanks for visiting. Also, check out my other Photoshop journeys here.
How to Use Photoshop Actions with Photoshop CC
Making GIF (Graphics Interchange Format): A Web Animation with Photoshop CC
Making Customized Mug Design with Photoshop CC
How to Create Customized Photoshop Layer Style: Gold Text Effect
How to Make Your Own Customized Photoshop Shortcut Keys with Photoshop CC
How to Make a Customized Banner or Header Design with Photoshop
*********************
Writing blogs and earning from Bitlanders">www.bitlanders.com/?c=gr234234__656094__0__0">Bitlanders is a self-rewarding task I do, not just for fun but also to develop a positive habit.
Not a member yet? Sign">www.bitlanders.com/?c=gr234234__656094__0__0">Sign up for free at Bitlanders">www.bitlanders.com/?c=gr234234__656094__0__0">Bitlanders.com and start earning.