Hello, it’s been a while since I last blogged so quite a lot to get through today. I have been going through the different stages of editing with my latest film. So today’s blog is a tutorial on editing and color grading. I am using two different programs Premier Pro for editing and Davinci Resolve for grading.
So first thing first, editing in Premiere Pro. You have shot you’re film and now you need to edit it, well editing in Premier makes things incredibly easy for you.
Choosing your sequence – Now when you start up a project in Premier it will ask you what sequence you want to use. It really doesn’t make a huge difference what you choose because you can always create a different one later. What I usually do is choose the default then just drag one of my clips on and it will ask if you would like to change the sequence settings to match the clip. Click yes and it will automatically correctly set the sequence to match your clip settings.
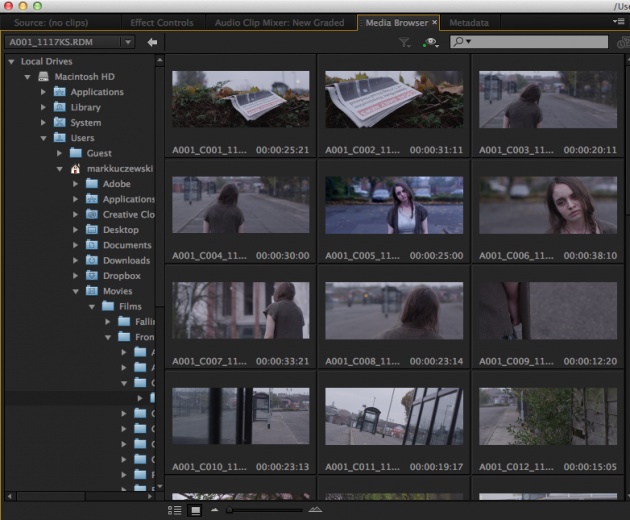
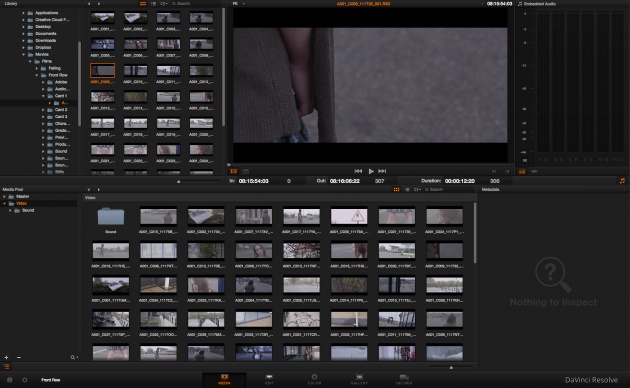
Ingesting the footage – Most formats now can be takes straight in to premier and used natively simply buy using the media browser and pointing it to the destination of your footage. Remember that everything you import in to premier needs to remain in the original destination, so its good practice to keep things organized. You import the footage by highlighting all the clips you wish to bring in then right click and import.
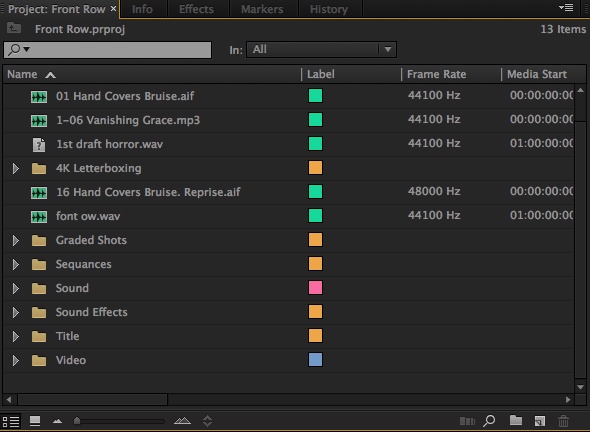
Keep the edit tidy. Create bins by right clicking in the project window. I have separate bins for sequences, clips, sound and many other things but its really preference on how you wish to work.
Editing – Once you have your clips in the edit you can start to cut your program together. Double click the clip you wish to bring to the time line and it will open in the preview window. Now you probably don’t want the extra roll at the start and end of the clip so you can set in and out points by hitting ‘I’ and ‘O’ on the keyboard. Then you can drag this down to the sequence or click insert.
I usually do a really quick rough edit then refine it over time. Use sound to better hide cuts by starting dialogue of screen then cutting. For instance if you were watching a conversation between two people you would not turn your head before somebody talks because you don’t know they’re about to speak.
Get feedback from people at stages through the edit. Maybe do some different cuts, for instance try doing a really quick cut and see if it works. I think that shorter films stand a better chance of getting in to festivals, and will gain a wider audience due to how many people consume films these days.
Grading – now you have your edit locked down and you’re happy with it. Time to add a color grade to your footage. Some cameras shoot raw, some don’t. If you have not shot raw then try to shoot a flat color profile to allow the camera to bring in as much detail as possible.
Davinci resolve lite is free to download and is a fantastic program so I suggest you all download it.
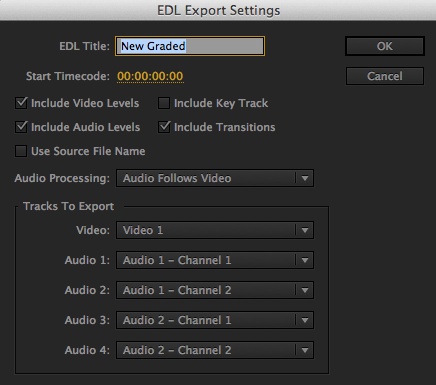
To bring your edit in to resolve you first need to export an EDL or XML depending on the program you have edited in. We have edited in Premier so we will be exporting an EDL. Make sure you have the sequence you’ve edited selected and then click file, export and EDL. Name it what you want and leave the default settings selected. Click ok and choose the destination folder.
Ok now you’re ready to open Davinci, once it loads up it’s going to ask you to login. Create an account and then log in with your username and password. Now you will be taken through to the projects window. You can add a new project with the plus button at the bottom. If you wish to change the settings to match your project you can do this by right clicking and going to config. Once your happy then double click to open the project.
Import master clips - Now similar to Premier you need to bring the footage in to Davinci. Instead of media browser it’s just the library section up at the top left. Point the directory to the folder with the clips; highlight the selected clips you wish to bring in (this only has to be the ones you’ve used on your sequence) then right click and add to media pool. It will ask you if you want to change the settings to suit the clips so click yes.
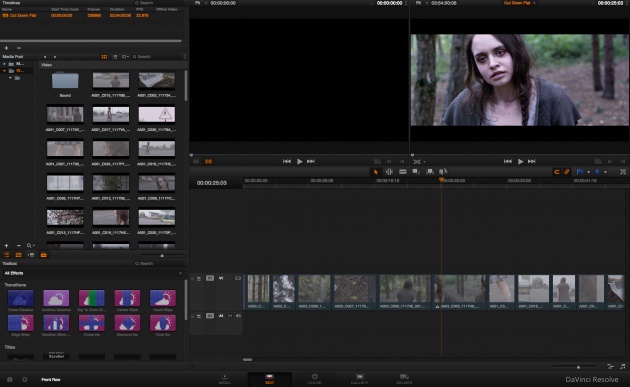
Bring in EDL – Now its time to bring in the EDL, so navigate to file and import the EDL from earlier. This should now bring up the edit in Davinci like below. We have already finished our edit so we should navigate to the color panel at the bottom.
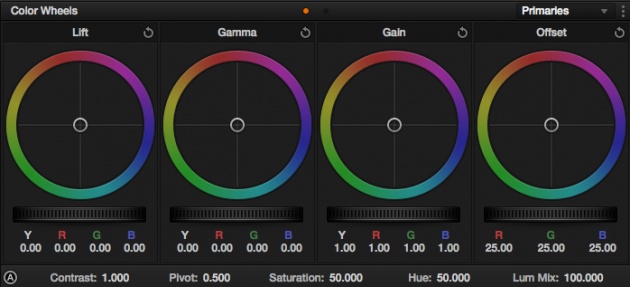
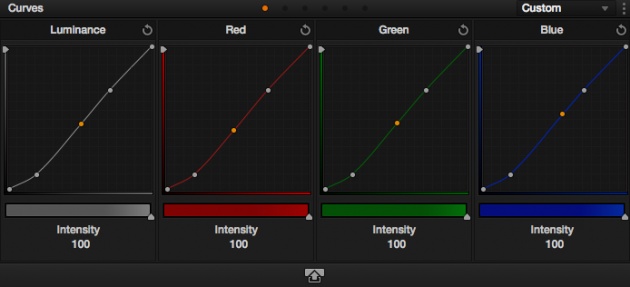
Color – So now you are ready to start grading clips. The first thing is to double click the clip you wish to grade. Now if you see the ‘nodes’ section to the top right you should have only one. Think of these nodes as stages, each time we do something new to the image we will create a new node. The first node is used to get true color and contrast in the image.
Right click on the large preview of the image and click show scopes, instead of four of the scopes we really only want one. So in the top right hand corner of the scopes where it says 4up, instead click and select 1up.
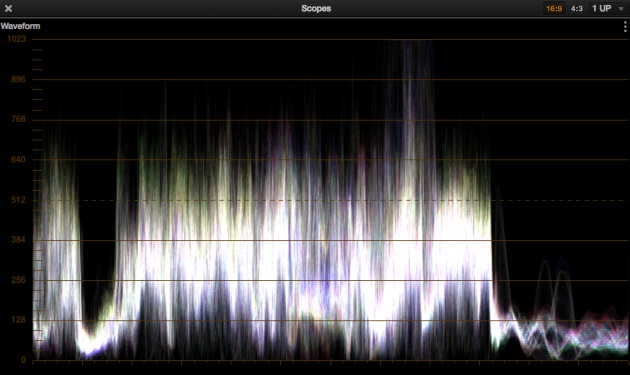
Now its important to understand this graph, the top represents true white and the bottom represents true black. You should look at your image and decide if there are any points that are true black or white. If yes then look at the graph, if you could overlay it on to your image you would see a pretty accurate representation of you’re image.
Now to the bottom left select color wheels. You should see lift, gamma and gain. You want to get the parts of the image that should be black or white true black or white. You do this by sliding the wheels, lift for black and gain for white. You can add in or reduce color so that the bottom and top lines on the scope are white rather than seeing the separate blue, red and green.
Once you have done this create a new node by clicking ‘alt s’ now you can start to highlight specific parts of the image, for instance if you wanted to bring out skin tones in a persons face you could do this by navigating down to the qualifier and clicking the magic wand then selecting the skin. You can play around with the settings to make a better selection. One thing which really helps is making the selection soft to blur the lines and make the selection less noticeable.
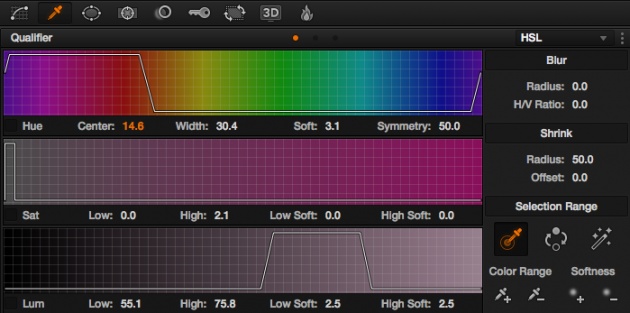
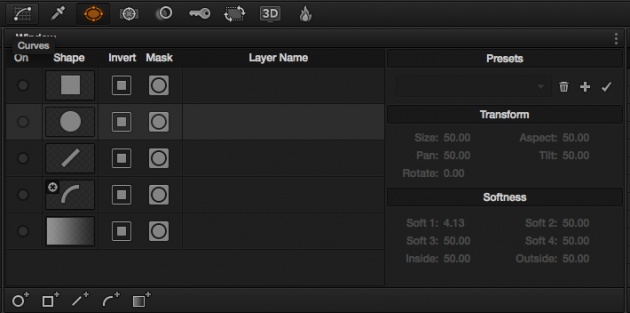
You can reduce the size of the selection by clicking the window tab and using one of the pre set shapes or creating your own. Remember to blur the selection like before to make it less noticeable.
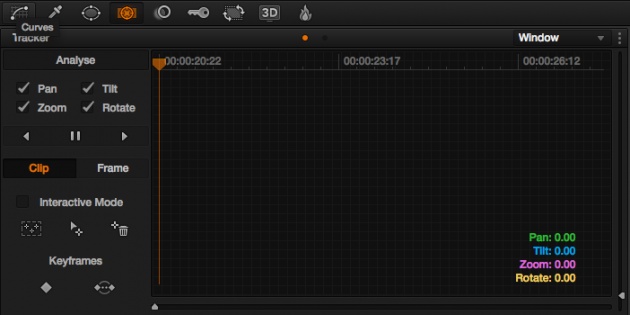
Now the person might move within the shot so you may need to track with the shot. Do this by going to the tracking tab and clicking on the little arrow pointing right. This will automatically track through the shot.
Now you might want to select other areas of the shot to bring up, such as eyes hair and other parts. Instead of creating new nodes, create parallel nodes with ‘alt p’. What this does is rather than adding selection upon selection it creates them side-by-side.
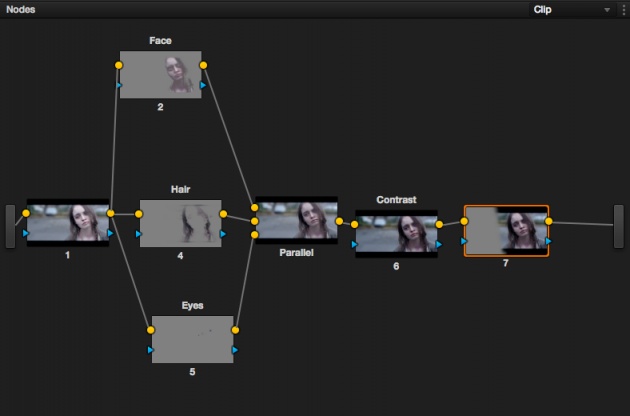
The selections that you make with the parallel node all lead to one individual node which I leave. Click on this node and create a new serial node ‘alt s’ I use this last node to add is some final contrast by clicking the curves tab and bending the luminance line.
Grading can take a while but it’s worth it to see your film really come to life.
I learned the grading from a really great tutorial from a guy called Mathew Scott who is a very talented DOP. So if you search it does go more in depth.
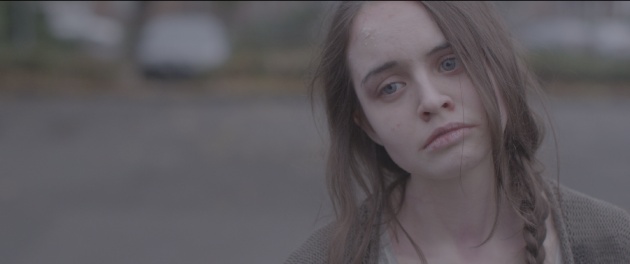
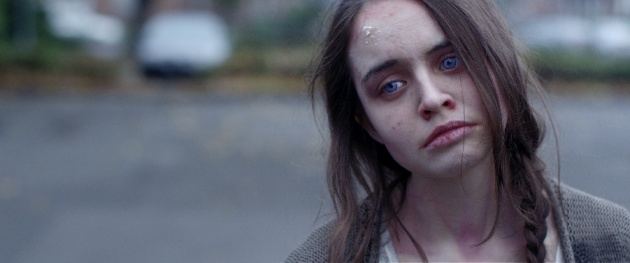
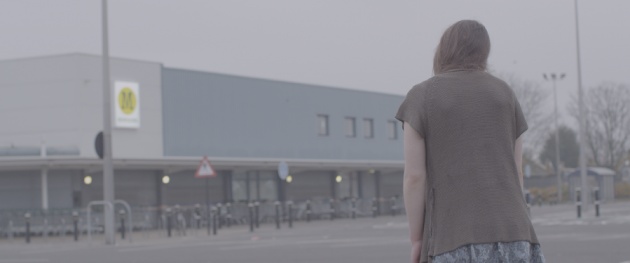
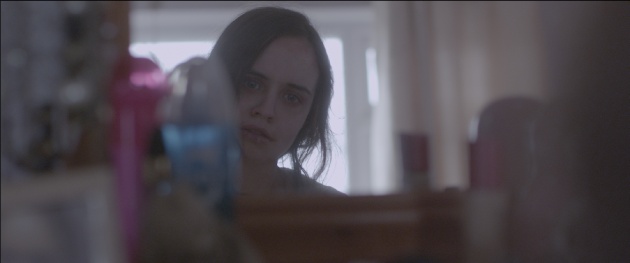
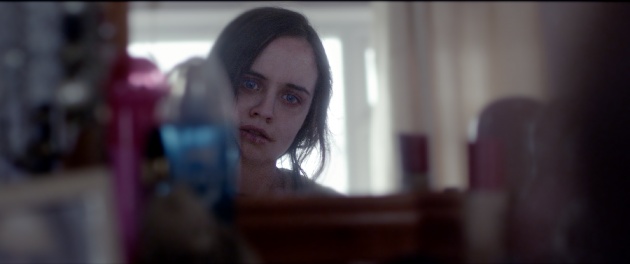
Here are a few before and after stills to show you some of the effects you can achieve with grading
Hope you enjoyed the tutorial and stay tuned for the upcoming release of my latest film Front Row.