The Tools I Use For My Bitlanders Journey
Introduction
Since I joined Bitlanders, I have been searching and downloading applications or software that could help me create quality contents whether it be for my microblogs, blog posts, movies (videos), or images for the gallery section. I will share with you the usual tools I use for my Bitlanders journey. Well, I know that some users already know these tools but I just want to help those who don't have knowledge about these useful applications that I'm currently using. Therefore, I suggest that they (especially newbies or new users) also use the tools that I'm going to discuss in this blog. I am also open to other user's suggestions if you know of better applications than those that will be discussed in this blog. I would really appreciate if you could share it with me.
(Please don't be confused with the 3 terminologies that I'll be using: "applications", "software", and "tool/s". If I mention any of these 3 words, I want you to know that they would all mean the same.)
This is a screenshot of my windows desktop. As you can see, it shows all of the applications or software that I use for my Bitlanders Journey.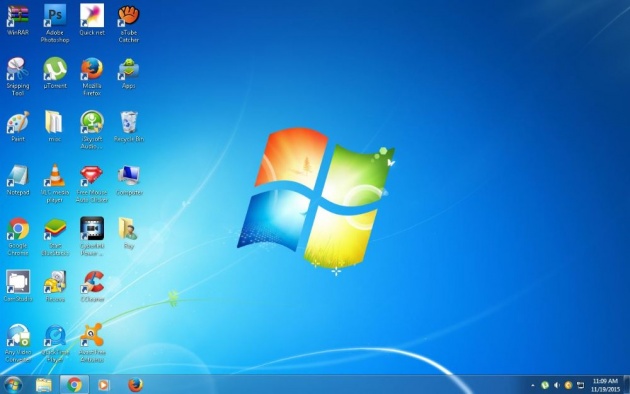
My Tools List
In this section, I will just give the basic description of the applications or software that I often use for Bitlanders. I also included their desktop icons and screenshots. Later on, I will be discussing the specific uses of each tool on my Bitlanders world..
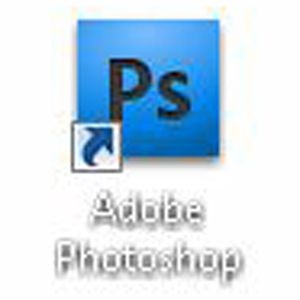
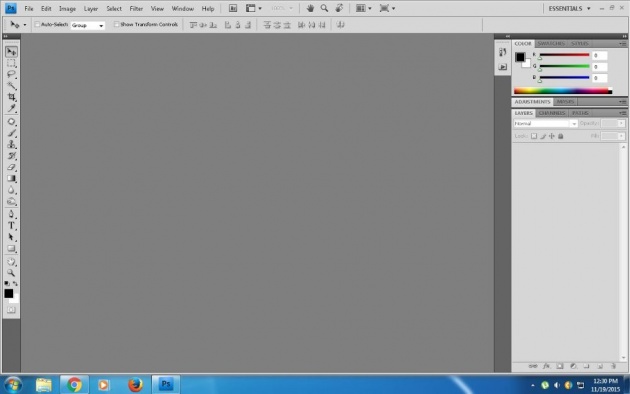
1. Adobe Photoshop - is an image editing software that was developed and manufactured by the popular Adobe Systems Incorporated. It is considered one of the leaders in image or photo editing software. This software allows us users to manipulate, crop, resize, and also correct color on our digital photos. It is particularly very much popular amongst professional photographers and graphic designers worldwide. Below are the software's desktop icon and full screenshot.
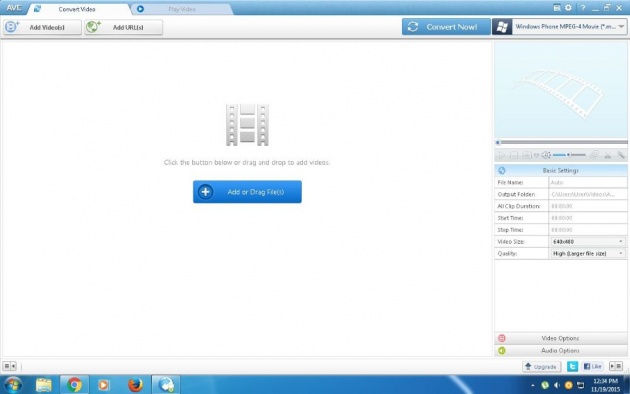
2. Any Video Converter (AVC) - is a video converter software developed by AVCLabs and can be used by Microsoft Windows and Mac OS X. It can take videos from our computer or download from the Internet and converts them into just about any format we would like. It has an easy-to-use graphical interface, fast converting speed and creates excellent video quality. It is available in both a free (this is the version I have) and paid version. The ACV Windows version has won the CNET Downloads 5 star award! Check the software's desktop icon and full screenshot below.
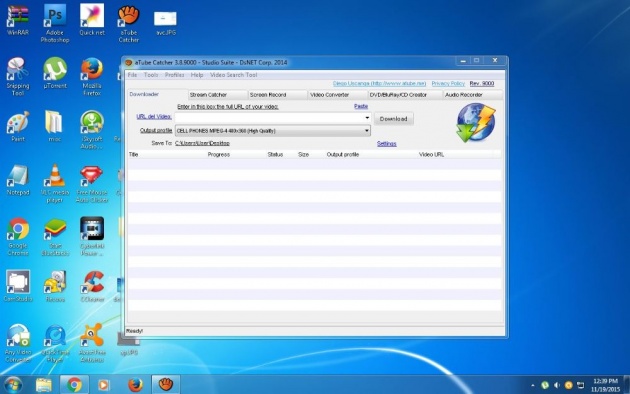
3. aTube Catcher - is a simple free software focused to individuals and students for personal, private and non-commercial use, this software is a download manager that helps us backup videos from social sites like Dailymotion, YouTube, MySpace, Yahoo, etc. to play back the videos offline and lets us export them to many different formats (MPG, AVI, MP4, 3GP, 3G2, WMV, PSP, MOV, FLV) with the video quality that we choose. We can encode our videos to standard formats like DVD, VCD, IPOD, PSP, etc. It even supports "Authentication" in YouTube, so we can backup private videos (if we have authorization) and or videos with adult content. Shown below are the software's desktop icon and screenshot.
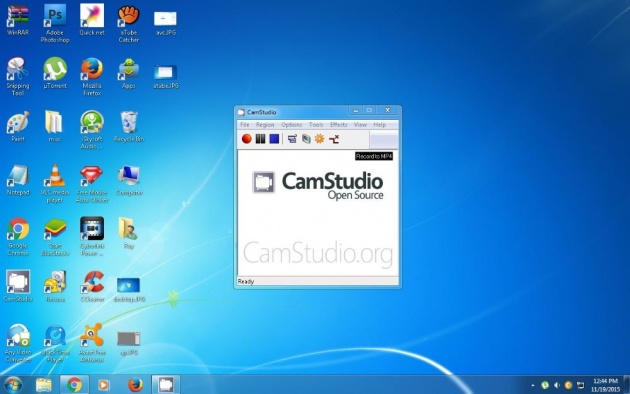
4. CamStudio - CamStudio is a free, open source screen recorder or screencasting software for Microsoft Windows. We use it for saving screen activity to an AVI file, then comes with an option of having the AVI automatically converted into SWF file once the recording is done. The desktop icon and screenshot of CamStudio are shown below.
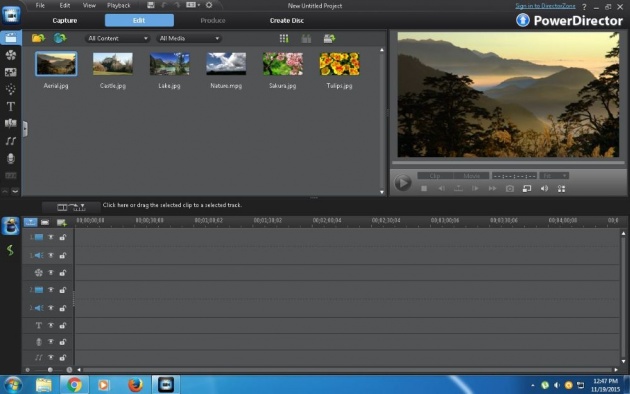
5. CyberLink PowerDirector - was developed by CyberLink Corporation. It is an easy-to-use home video editing software with over 300 editing tools and over 100 built-in effects. We can create amazing videos in just a span of minutes with MagicStyle tools and explore more than 300,000 free effects from DirectorZone.com. Make yourself familiar with the software's look by checking its desktop icon and full screenshot below.
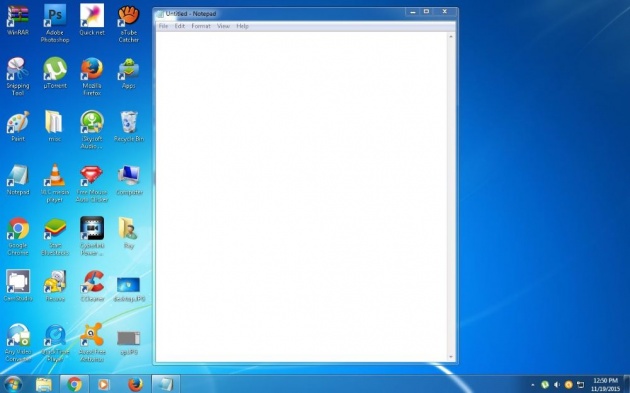
6. Notepad - is a generic or plain text editor included with all versions of Microsoft Windows which allows us to open, read and even edit plain text files. If the file contains special formatting or is not a plain text file, Notepad will not be able to read it. You can check Notepad's desktop icon and screenshot below.
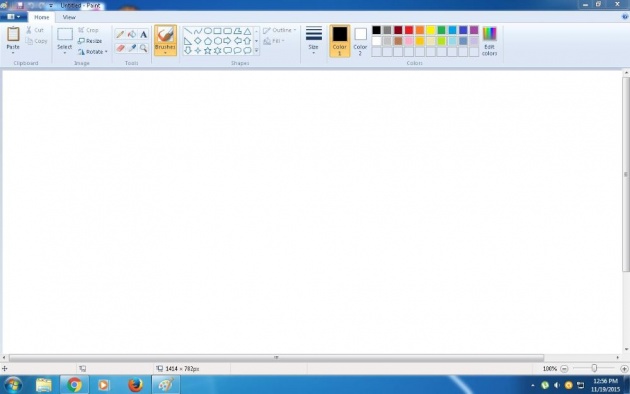
7. Paint - A simple graphics program included with all versions of Microsfot Windows. The program mainly opens and saves files as Windows bitmap (24-bit, 256 color, 16 color, and monochrome, all with the .bmp extension), JPEG, GIF (with the absence of animation or transparency, although the Windows 98 version, a Windows 95 upgrade, and the Windows NT4 version were able to support support the latter), PNG (without alpha channel), and single-page TIFF files. It enables us to draw pictures on the display screen which are represented as bit maps. Do check the software's desktop icon and full screenshot below.
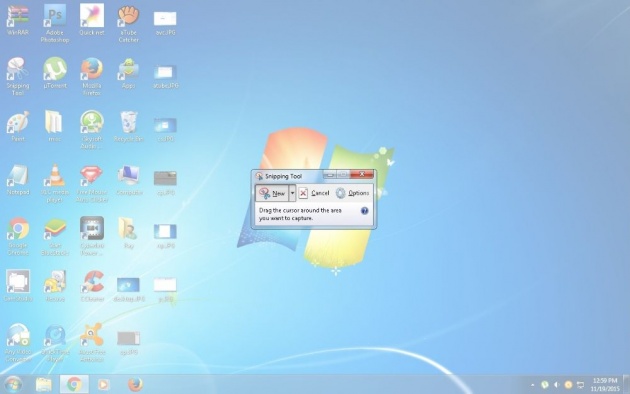
8. Snipping Tool - is a screen shooting program included in Windows Vista and later versions of Windows. It can take screenshots of an open window, rectangular areas, a free-form area, or the even the entire screen. Snips can then be annotated using a mouse or a tablet, stored as an image file (PNG, GIF, or JPEG file) or an MHTML file, or e-mailed. Snipping Tool allows for basic image editing of the snapshot or screenshot, with different colored pens, an eraser, and a highlighter. Familiarize yourself about this tool by looking on its desktop icon and screenshot below.
Specific Ways That I Make Use of Each Tool
1. Adobe Photoshop CS4
I usually use Adobe Photoshop to create and edit images that I upload for my microblogs, gallery and blog posts. I use it to crop certain images, add text to it, fix the photo's color, contrast, brightness and many other things I want to change depending on the image/s I choose. If you don't have any knowledge yet on how to use Adobe Photoshop, you can search for a lot of tutorials in the internet especially on YouTube. To give you an example, I have recorded a video about how I simply edited an image and added a text to it. Please watch my video below.
This video shows how I edited an image using Adobe Photoshop.
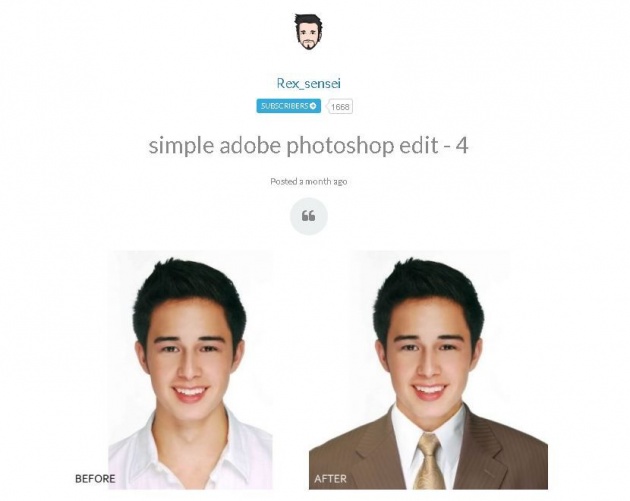
Here is the image I edited BEFORE and AFTER respectively.

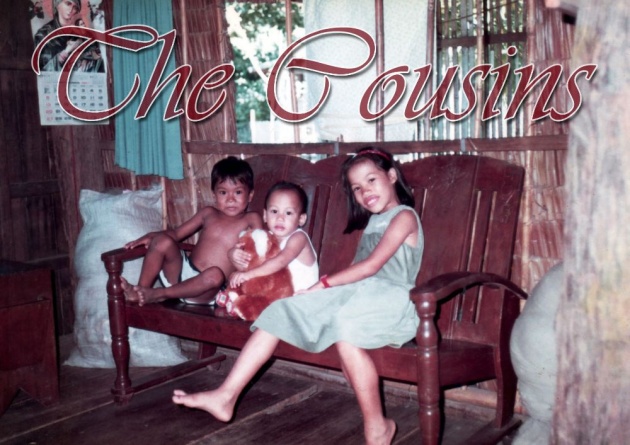
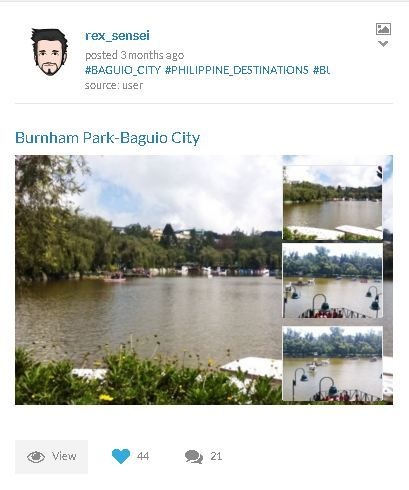
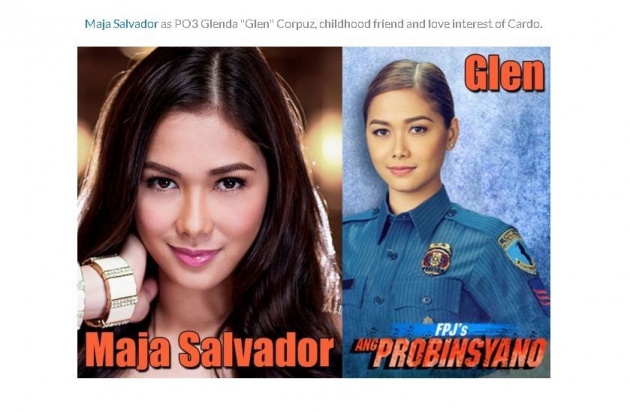
The following are just some of the many images I created using Adobe Photoshop for my (1) Microblog, (2) Gallery and (3) Blog Post.
(1) Microblog (I posted it a month ago)
(2) Gallery - "Burnham Park-Baguio City"
(3) Blog Post - "My Favorite TV Show"
2. Any Video Converter
I obviously use Any Video Converter to convert videos into different formats. For example, I can convert an mp4 file to avi, avi to mp4, mp4 to wmv, etc. I also convert videos into audio files like mp3, ogg, m4a, wma etc. Most often, I just use it to convert videos that are too large (100 megabytes or more) to make it smaller (5-30 megabytes) so it will be easier to upload them to Bitlanders. The video below demonstrates how I converted a 4.78 gigabytes avi file into a 24 megabytes mp4 file. As you can see, this software has a user-friendly interface.
This video shows how I converted an avi file into mp4.
3. aTube Catcher
I use this software to download music, videos, music videos and background music that I use to create videos that I upload most especially for my movies section and also for my Blogs. To show you how to use aTube Catcher, watch the video below. This is an example of how I downloaded a background music from YouTube.
In this video, I searched for a short background music in YouTube then downloaded it using aTube Catcher.
This is one of the music videos downloaded from Youtube using aTube Catcher then I uploaded it for my movies section.
4. CamStudio
This is one of my most used tools. I use it to record every significant thing or achievement that I accomplish in the web especially on Bitlanders. One of the things I record on Bitlanders are my blog reviews from Hillary. Almost all the videos I included in this blog are also recorded using CamStudio. Watch a quick review and tutorial about CamStudio below.
Video - CamStudio Quick Review and Tutorial
(video source: youtube.com, credits to M Alam Khan)
This is my CamStudio recording of my 4th blog review result that I uploaded to my movies section.
I just added background music and text using Cyberlink Powerdirector.
5. Cyberlink Powerdirector
I use this software to create and edit videos that I upload for my movies and blog post section. I recorded a video about how I simply created a video using the default images and video files included in the software and added texts, music and transitions to it. Please watch the 2 videos below.
This is just a sample video I created using Cyberlink PowerDirector.
This video shows how I created the sample video above using Cyberlink PowerDirector.
6. Notepad
I simply use notepad to save usernames, passwords, sites, phone numbers, mobile numbers, and profile links of my Bitlanders friends so I can easily visit them everyday. Below is a screenshot of a text file I created using Notepad.
This image shows a screenshot of a text file that includes some of my Bitlanders friends' profile links.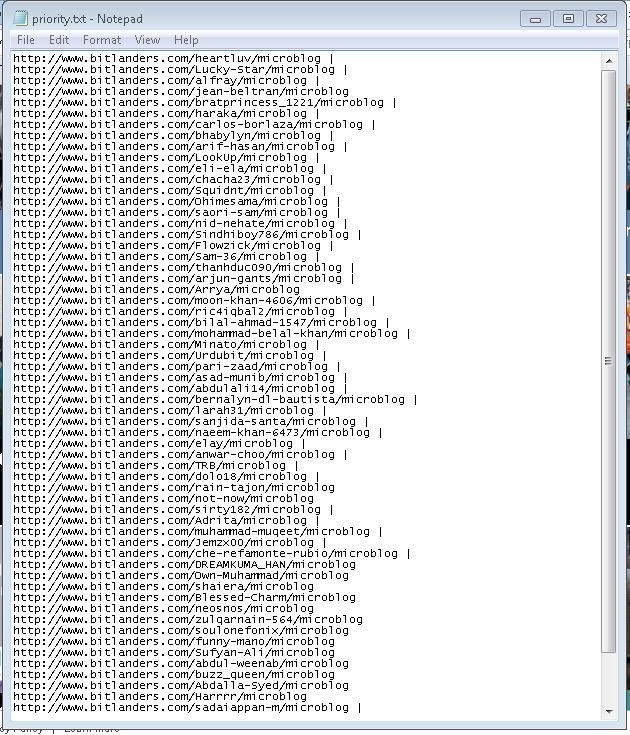
7. Paint
Most of the time, I use Paint to emphasize a certain part of an image by encircling that part. Watch the video I recorded below to understand further how I use it on Bitlanders.
This video shows how I usually use Paint.
8. Snipping Tool
Last but not the least, snipping tool is another tool that I use more often than the others I discussed in this blog. I use it to easily capture screenshots of my desktop, Bitlanders leaderboard, daily treasure box, global chat, and almost all sites I want to take a screenshot and share it on facebook and more especially here on Bitlanders. Do check the video and images below.
In this video, I took a small screenshot of Bitlanders leaderboard.
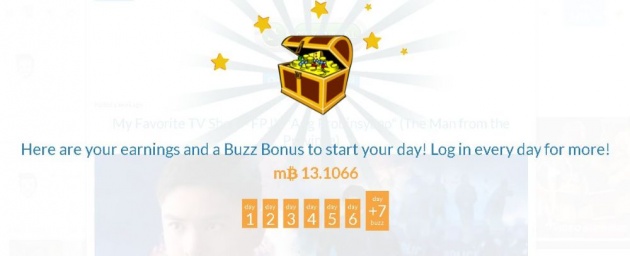
The images below are screenshots of my Bitlanders daily treasure box (earnings).


(Almost all other images included in this blog are also screenshots made by Snipping Tool.)
That's it! If you still have questions about these 8 tools, please send me a message via inbox or if you saw me online in the global chat, approach me. You can also try searching further in the internet if it is more reliable for you. Once again, this is rex_sensei concluding this blog. I hope this article helped you take a big step towards success on your very own Bitlanders journey! Have a nice day! Enjoy using these applications and I wish for your success! Just one last friendly warning, please don't plagiarize or support plagiarism. Thank you! Cheers!
(7th blog submitted for review)